Call us now for a FREE quotation 0800 032 0802 or 0330 660 0647

8am - 8pm 7 days a week

Call us now 0800 032 0802 or 0330 660 0647

Step by Step Guide

A step-by-step guide to fascia board installation
Having your roofline replaced sounds like a big job, but at Roofline Design we do everything we can to make it as straightforward and hassle-free as possible.
A total roofline replacement – not just overcladding

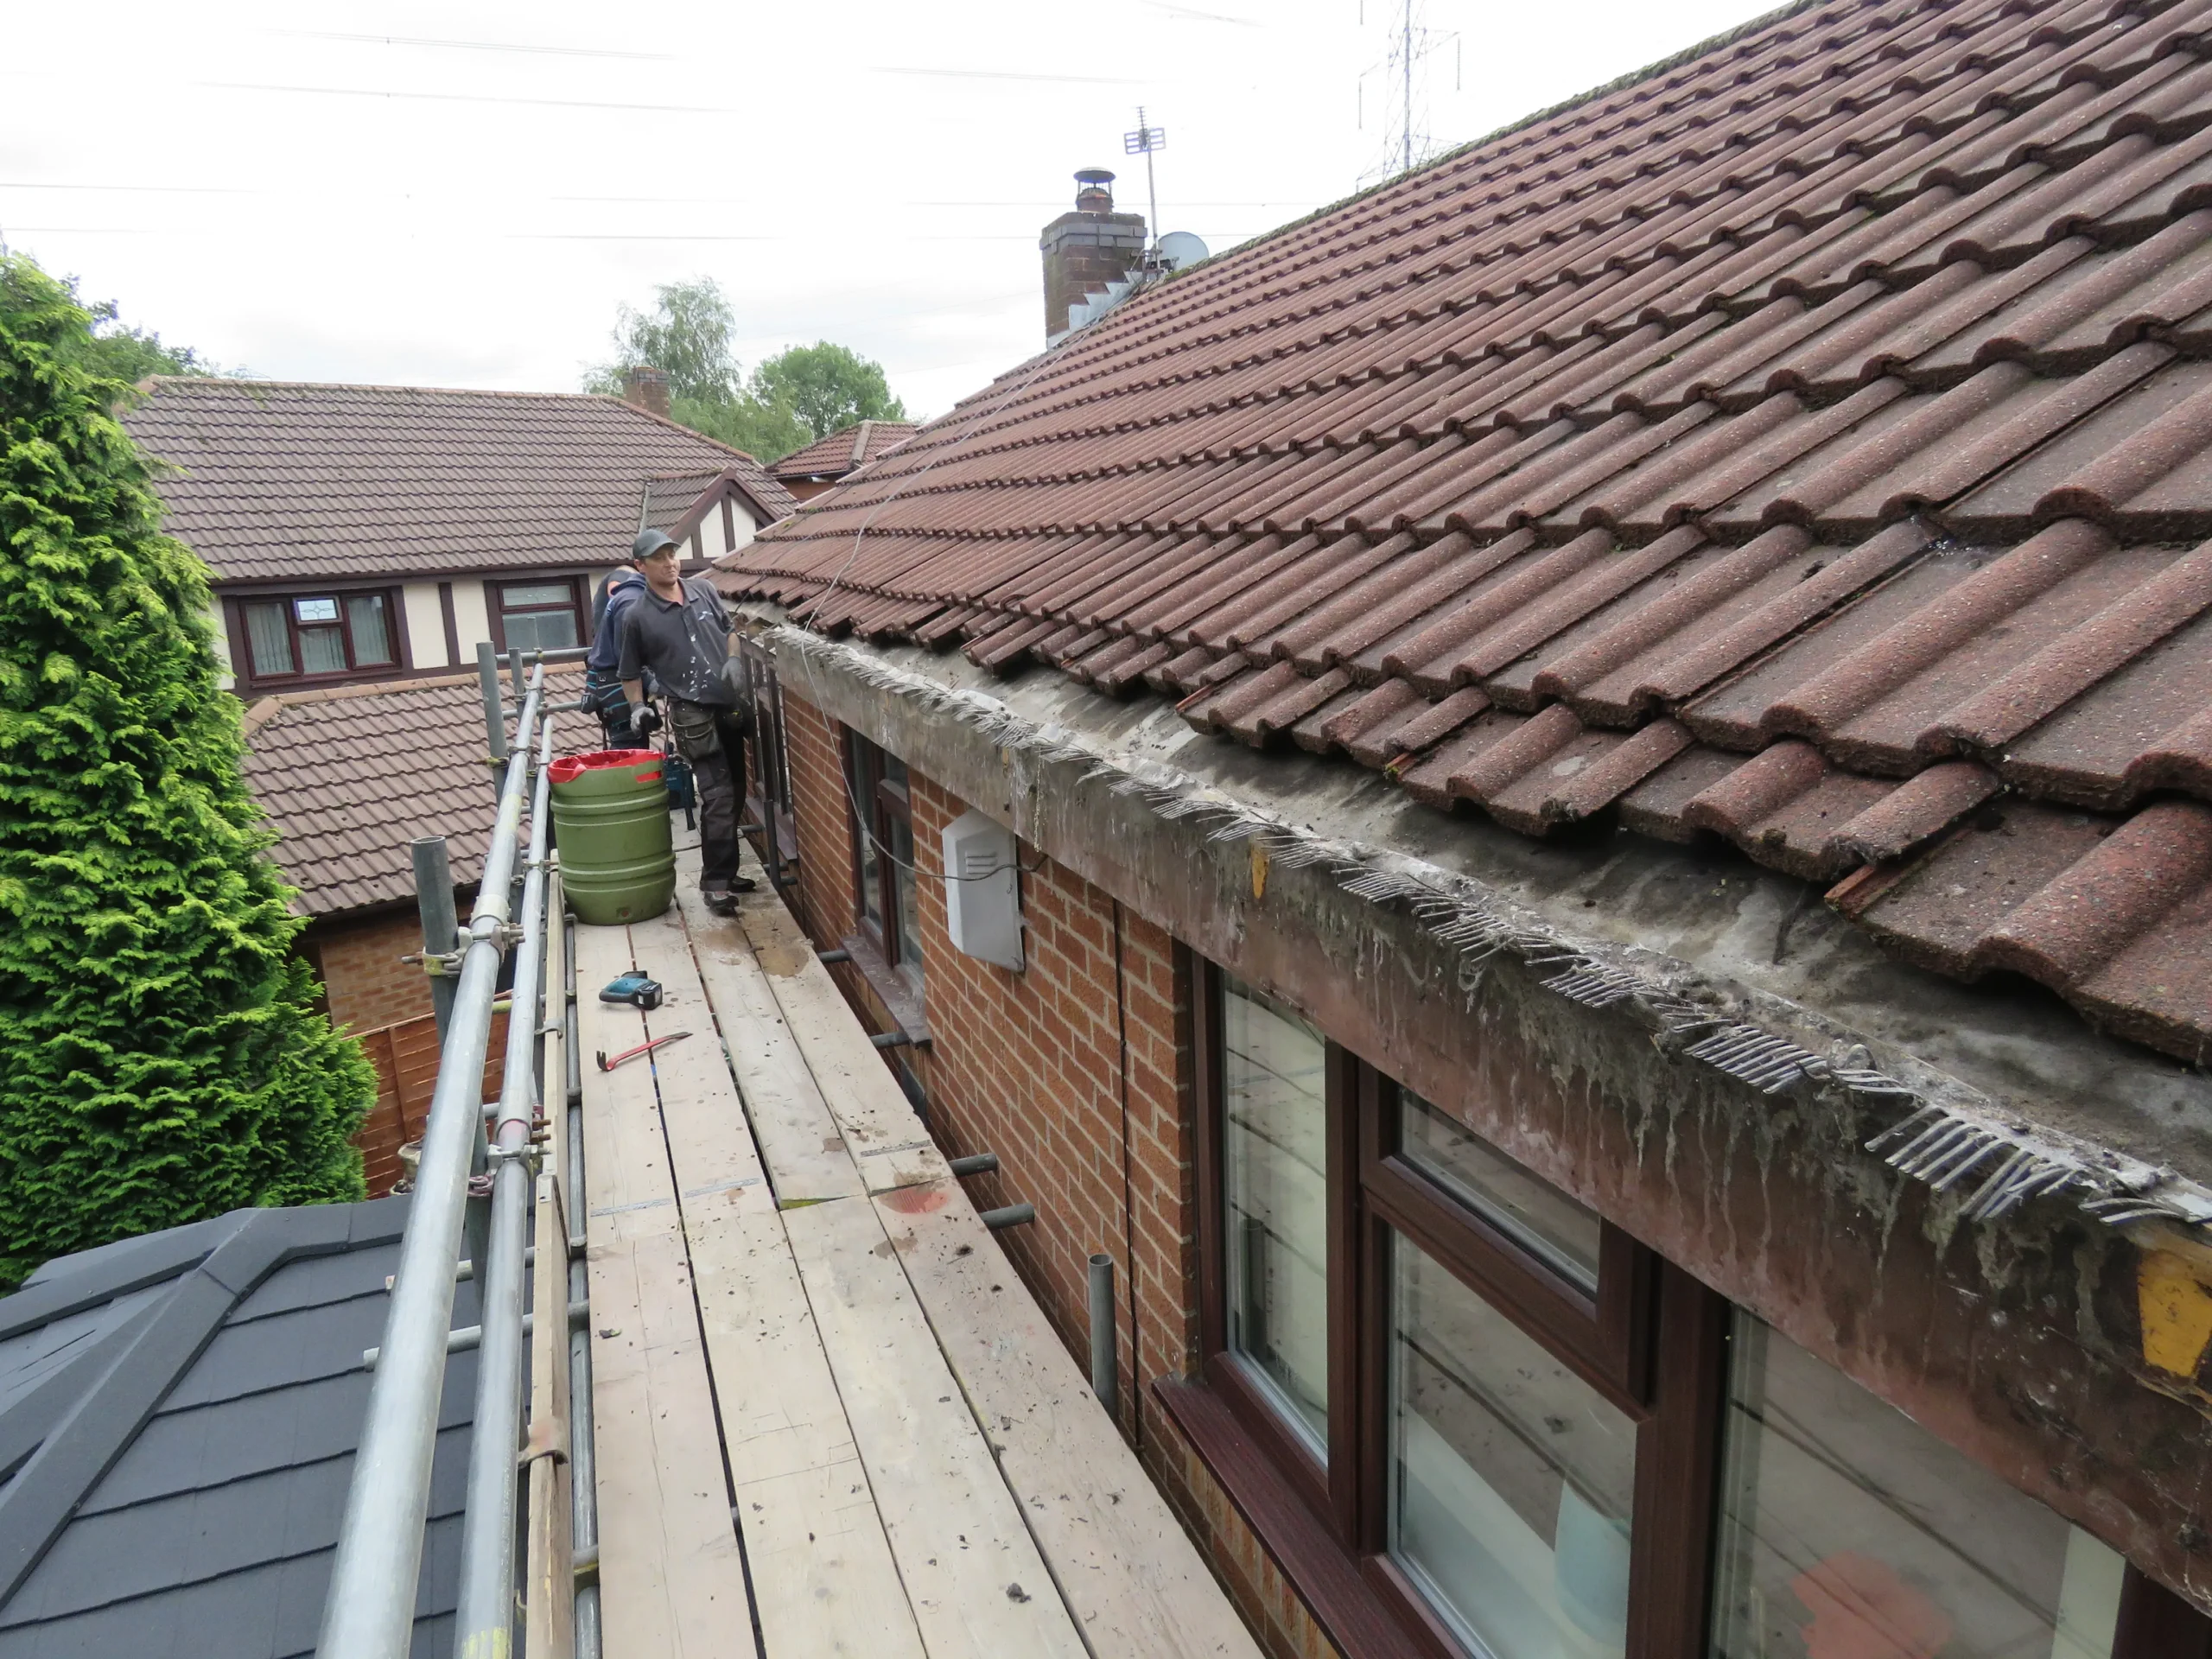
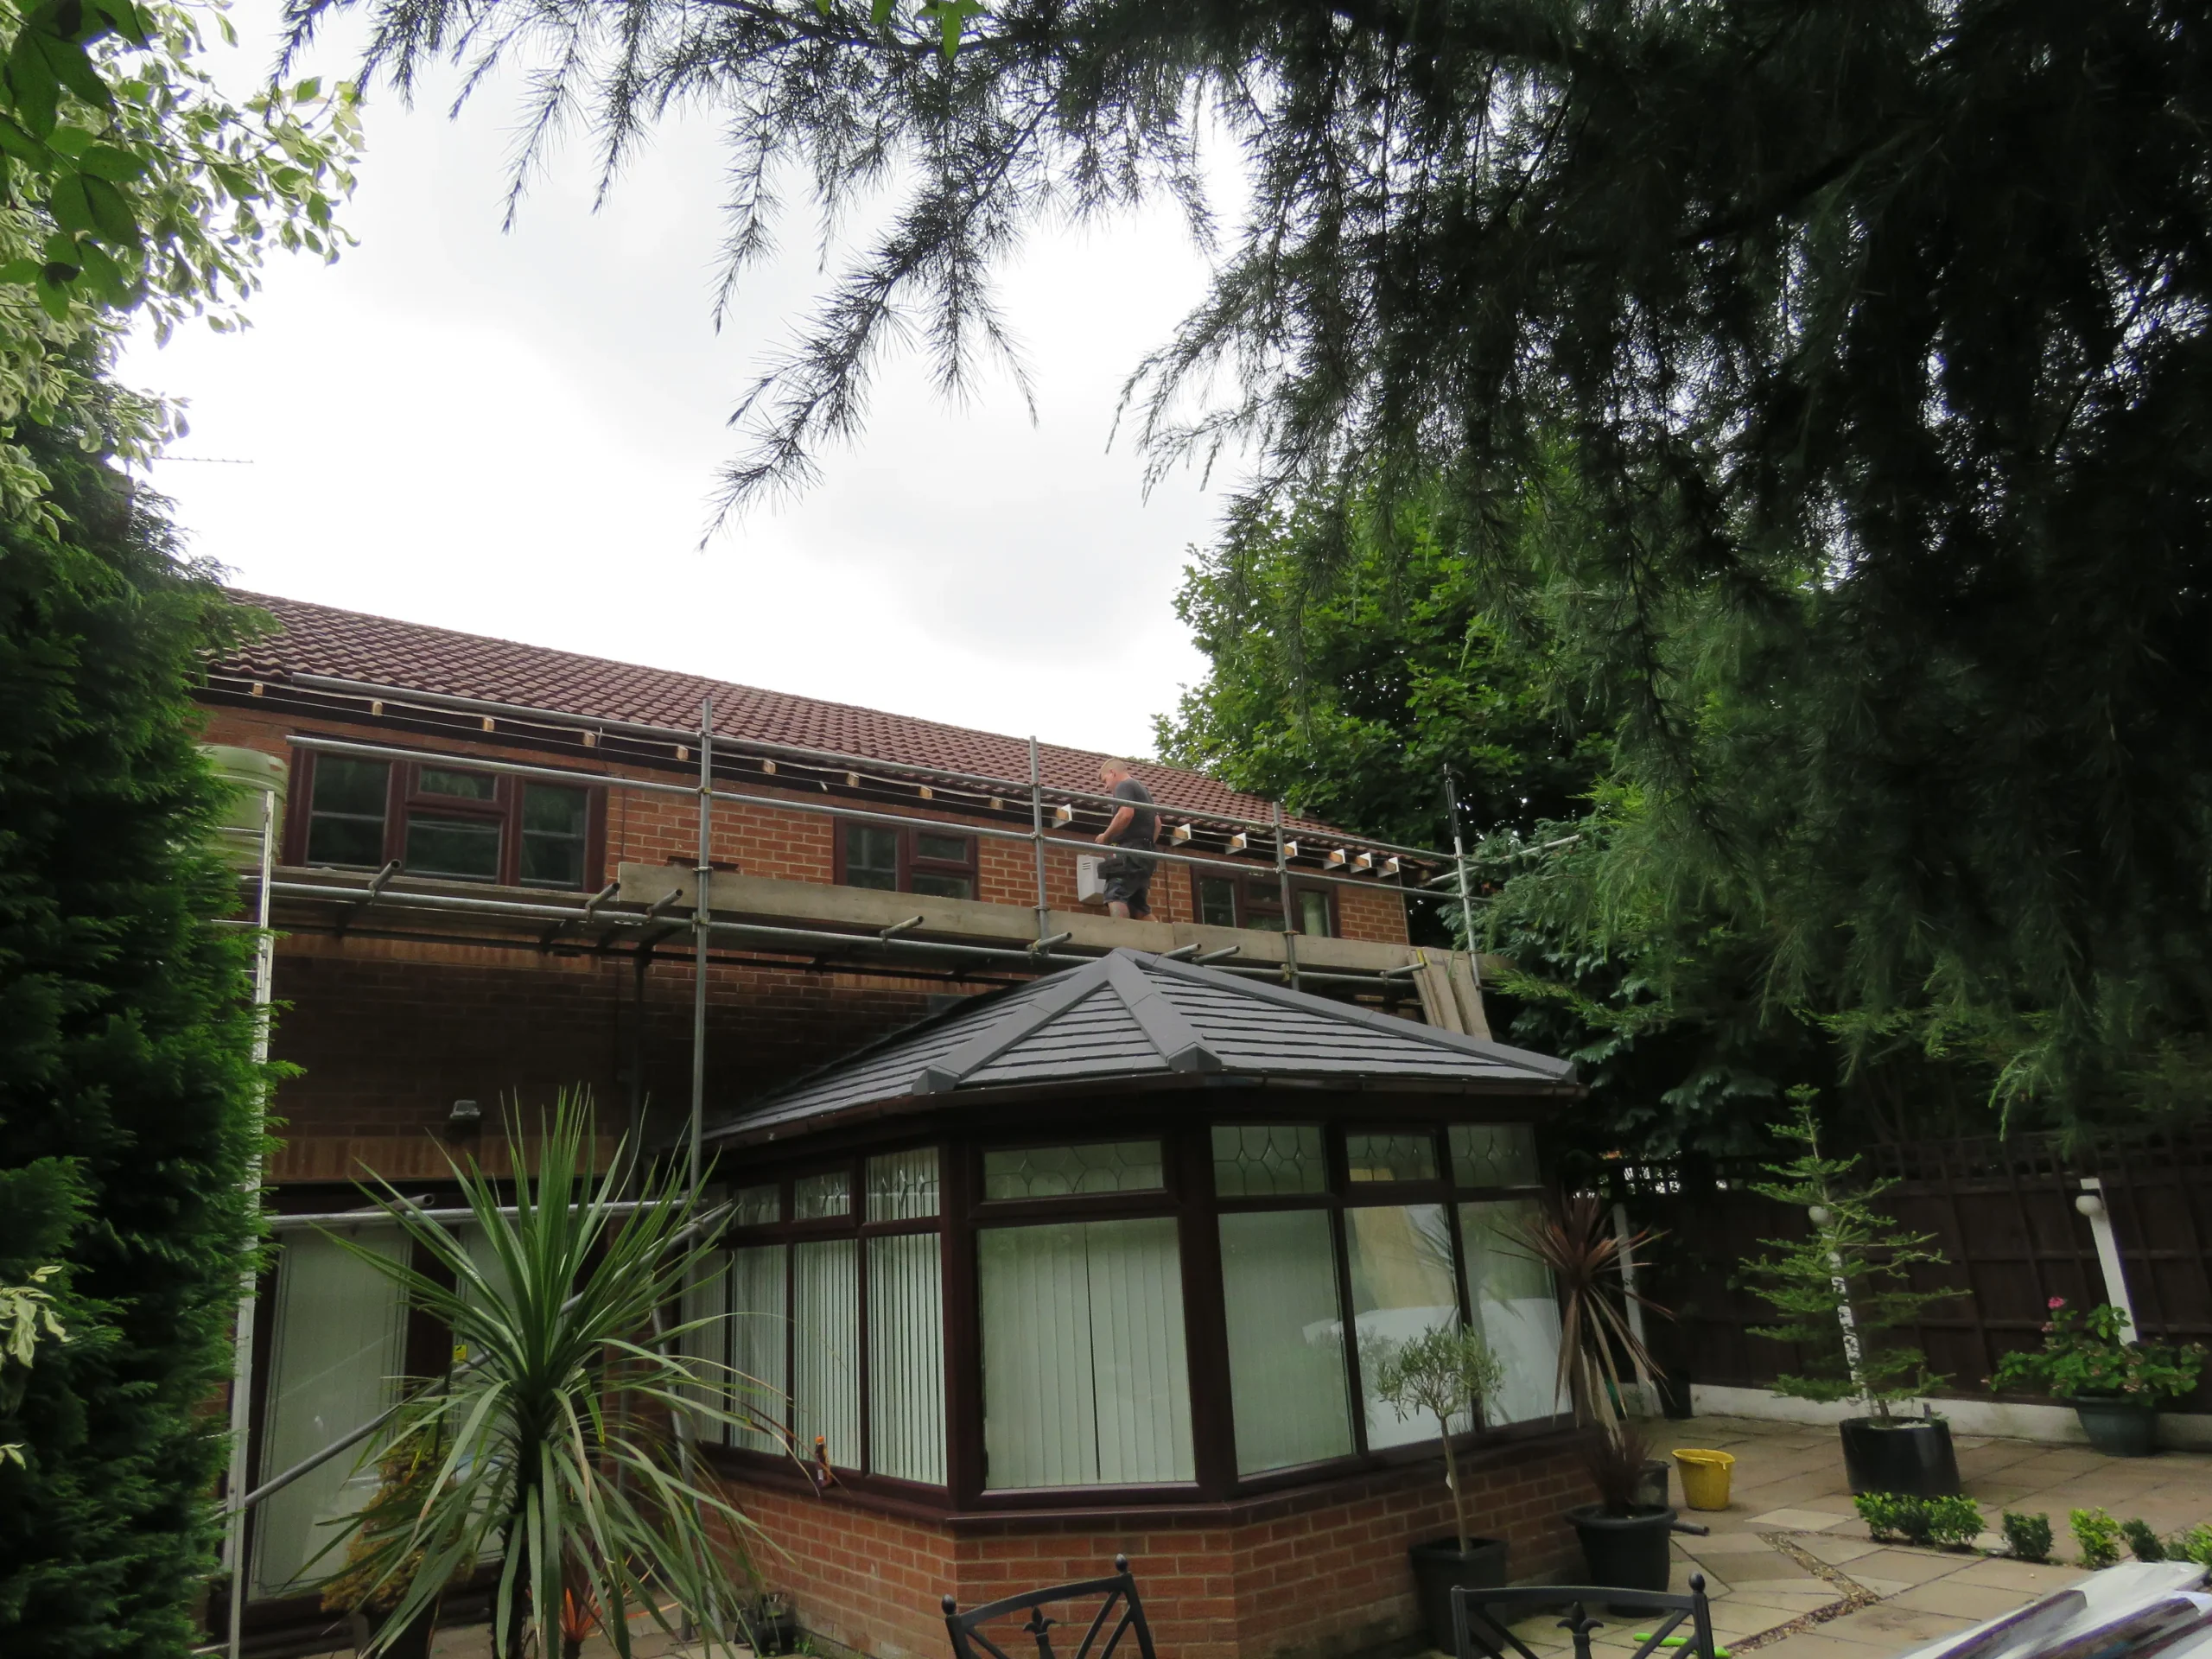
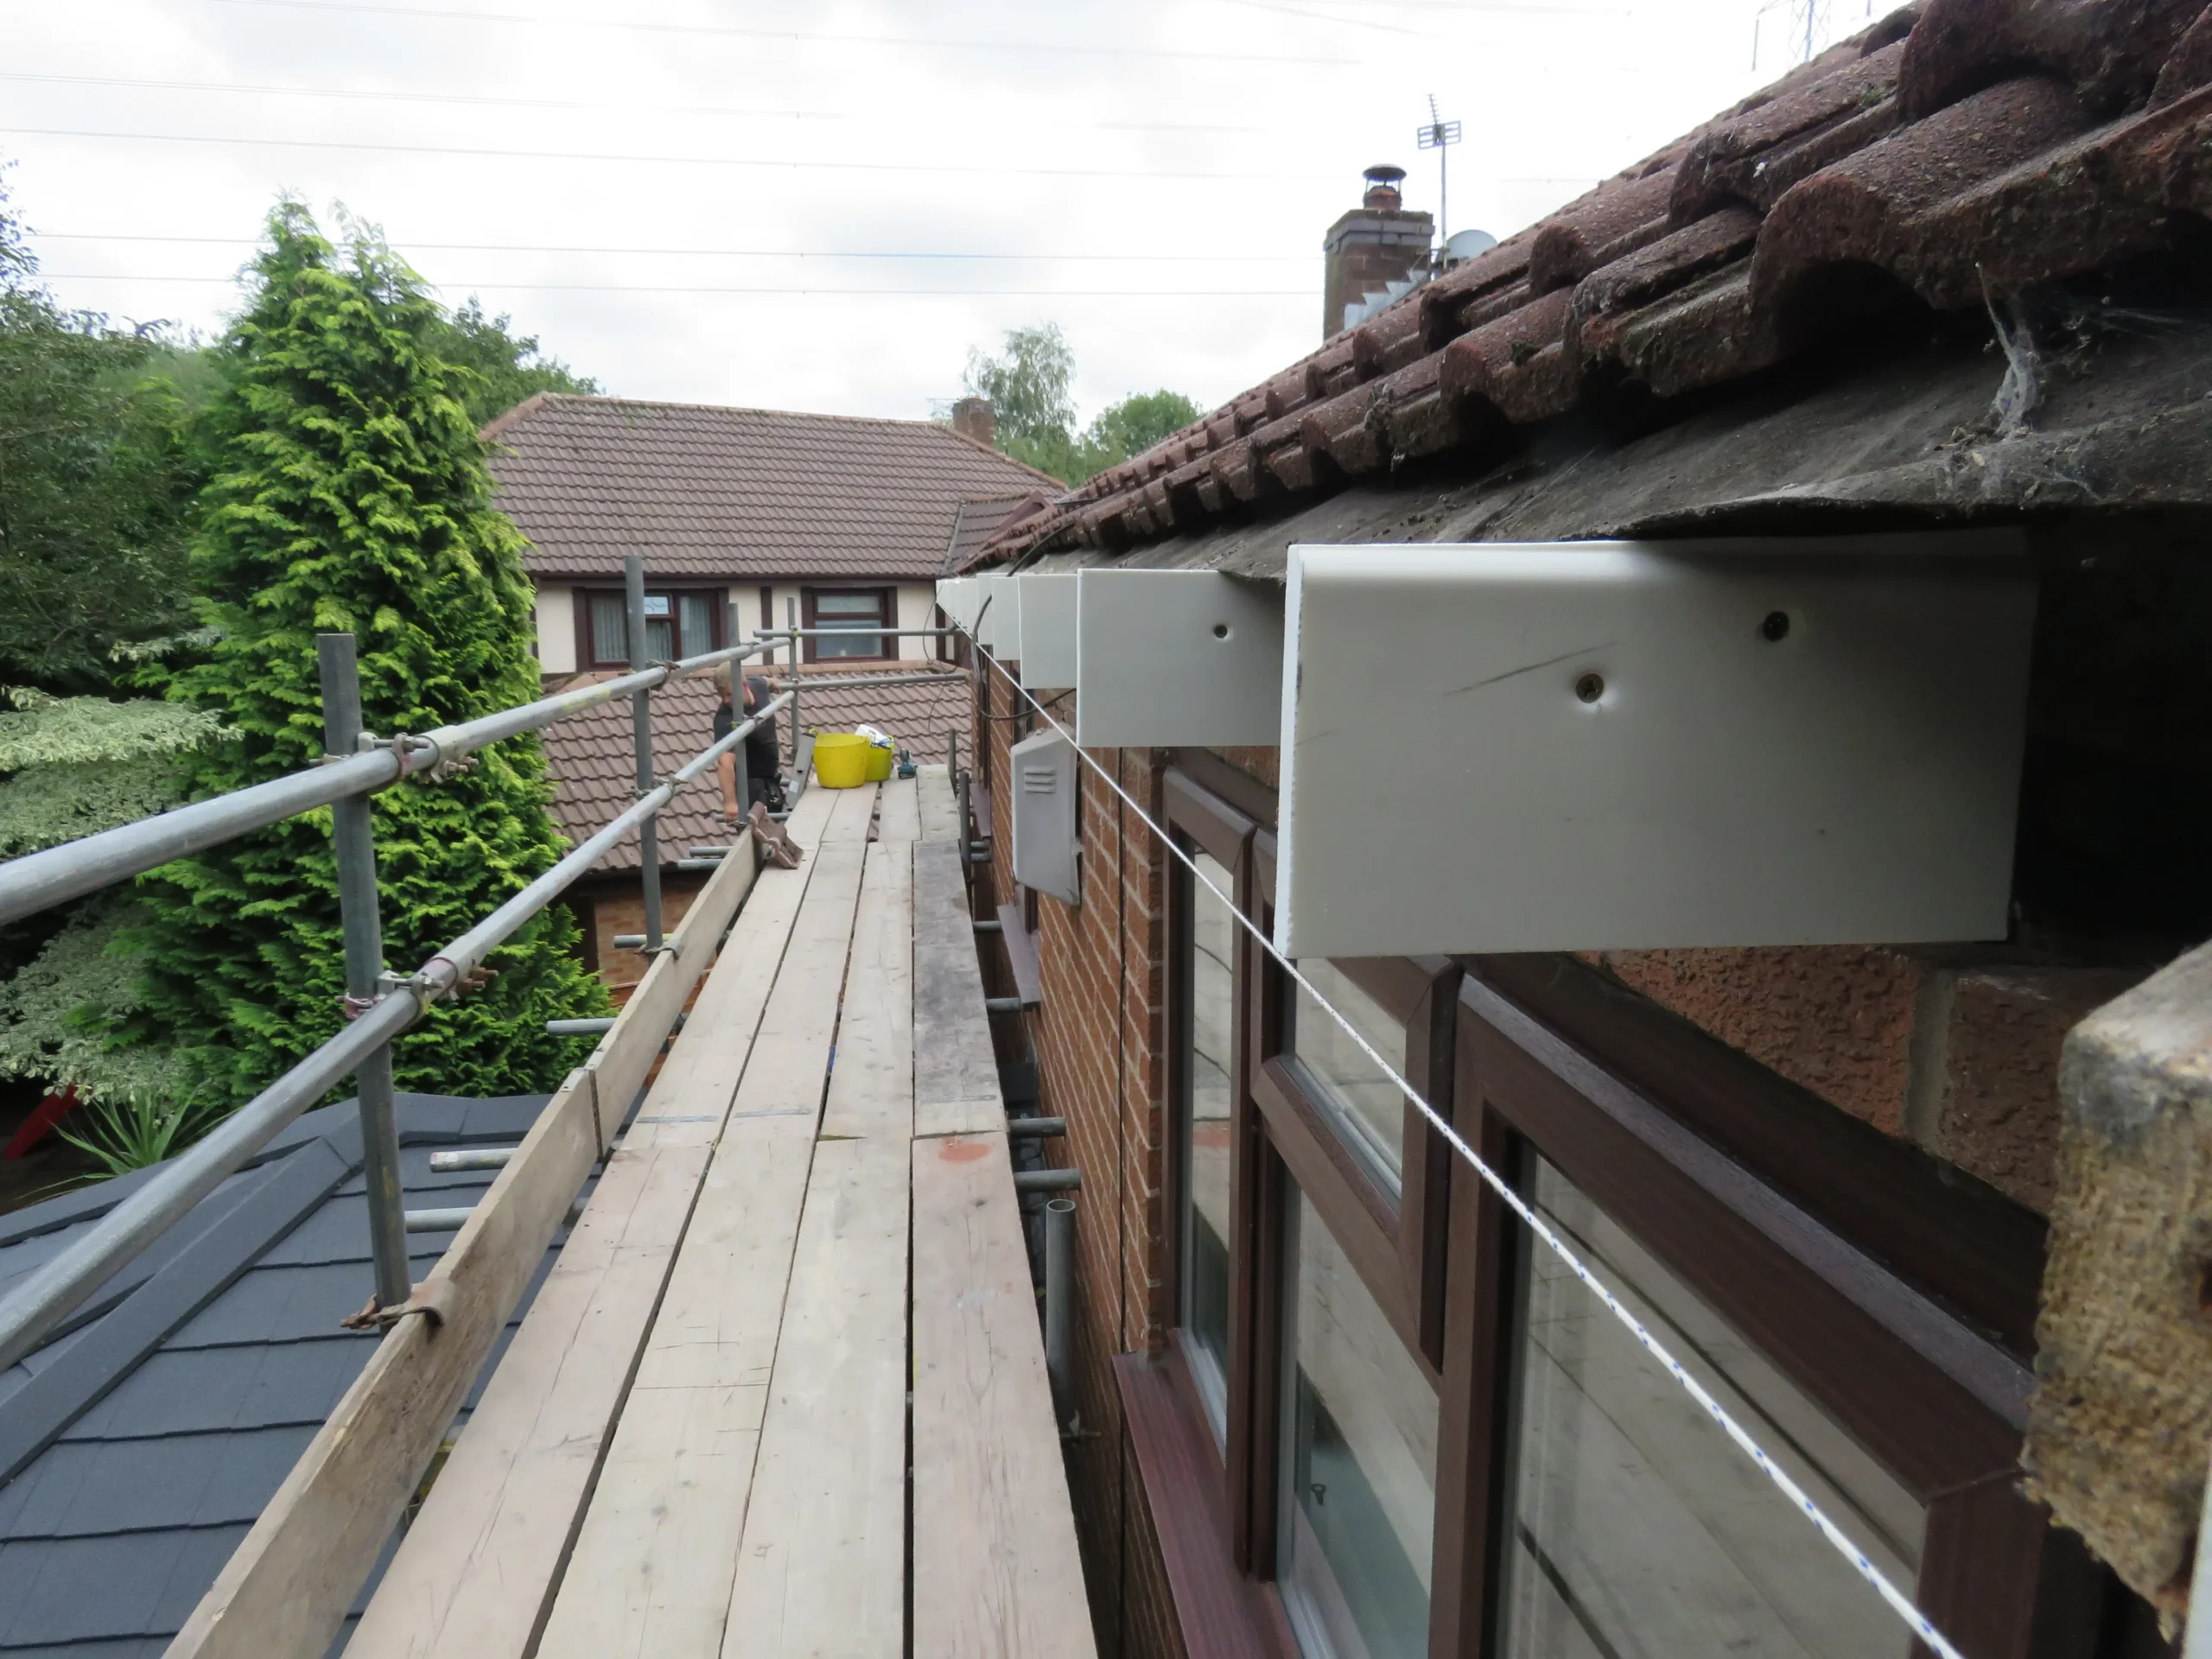
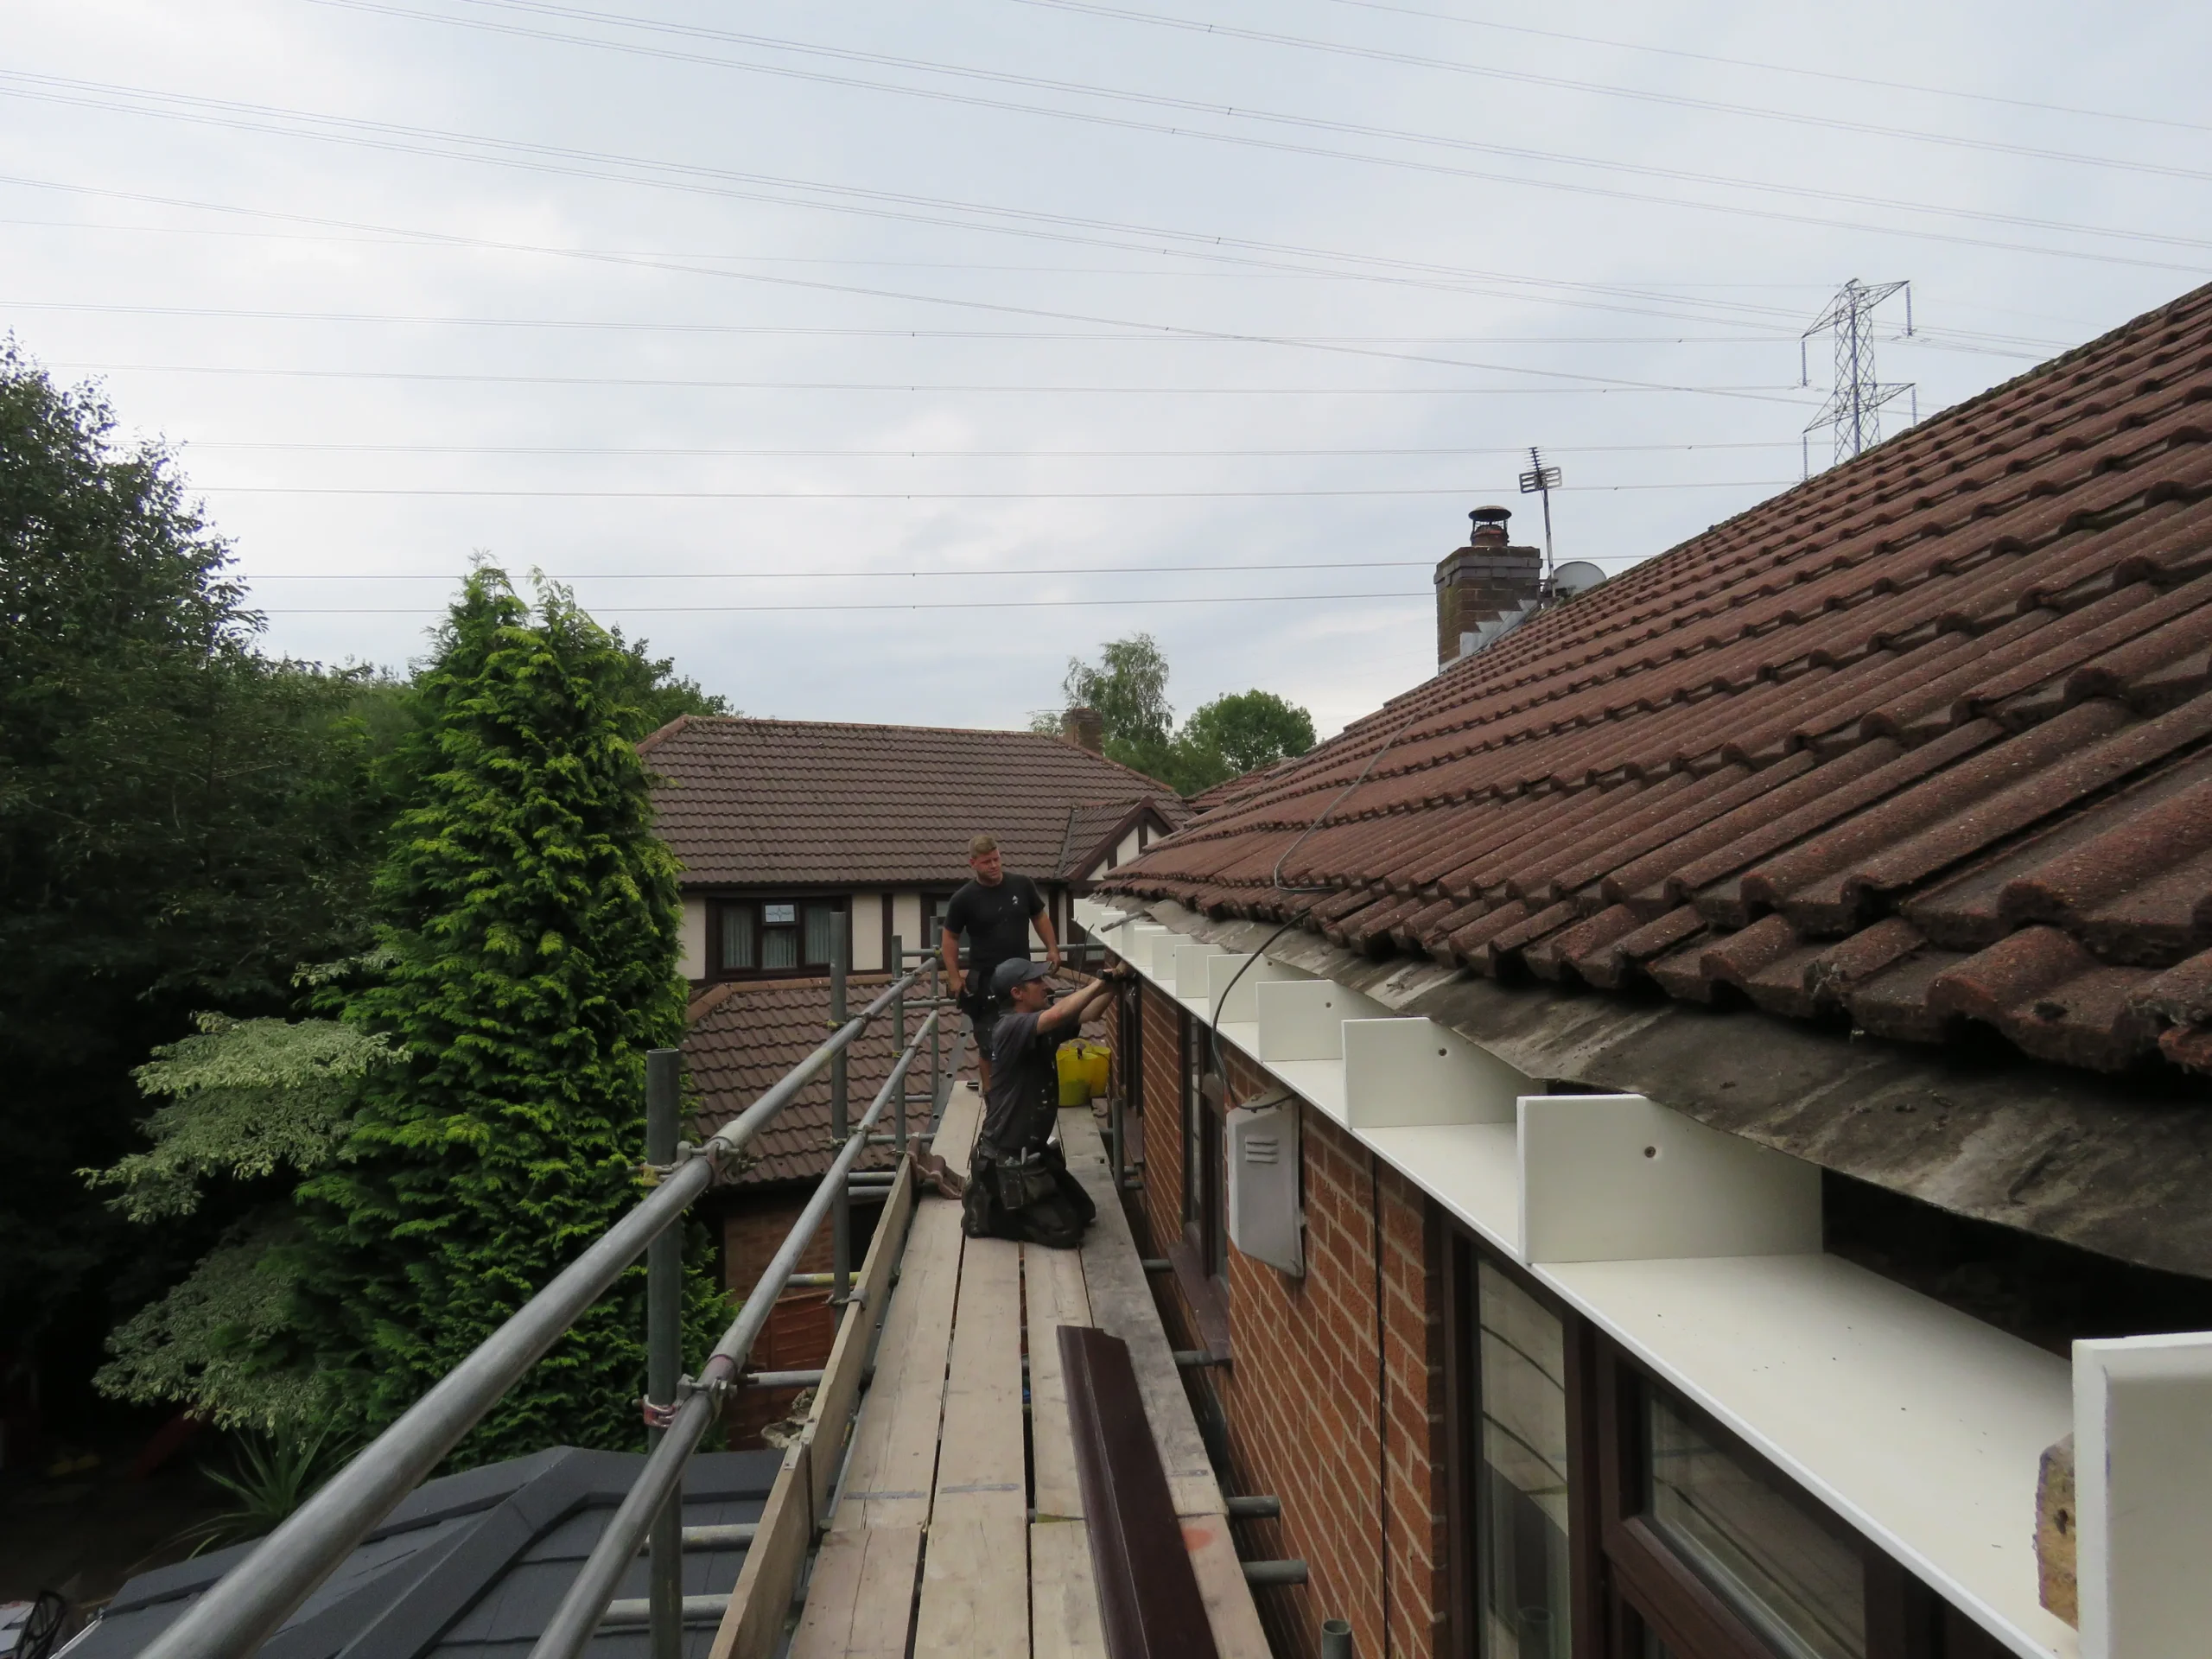
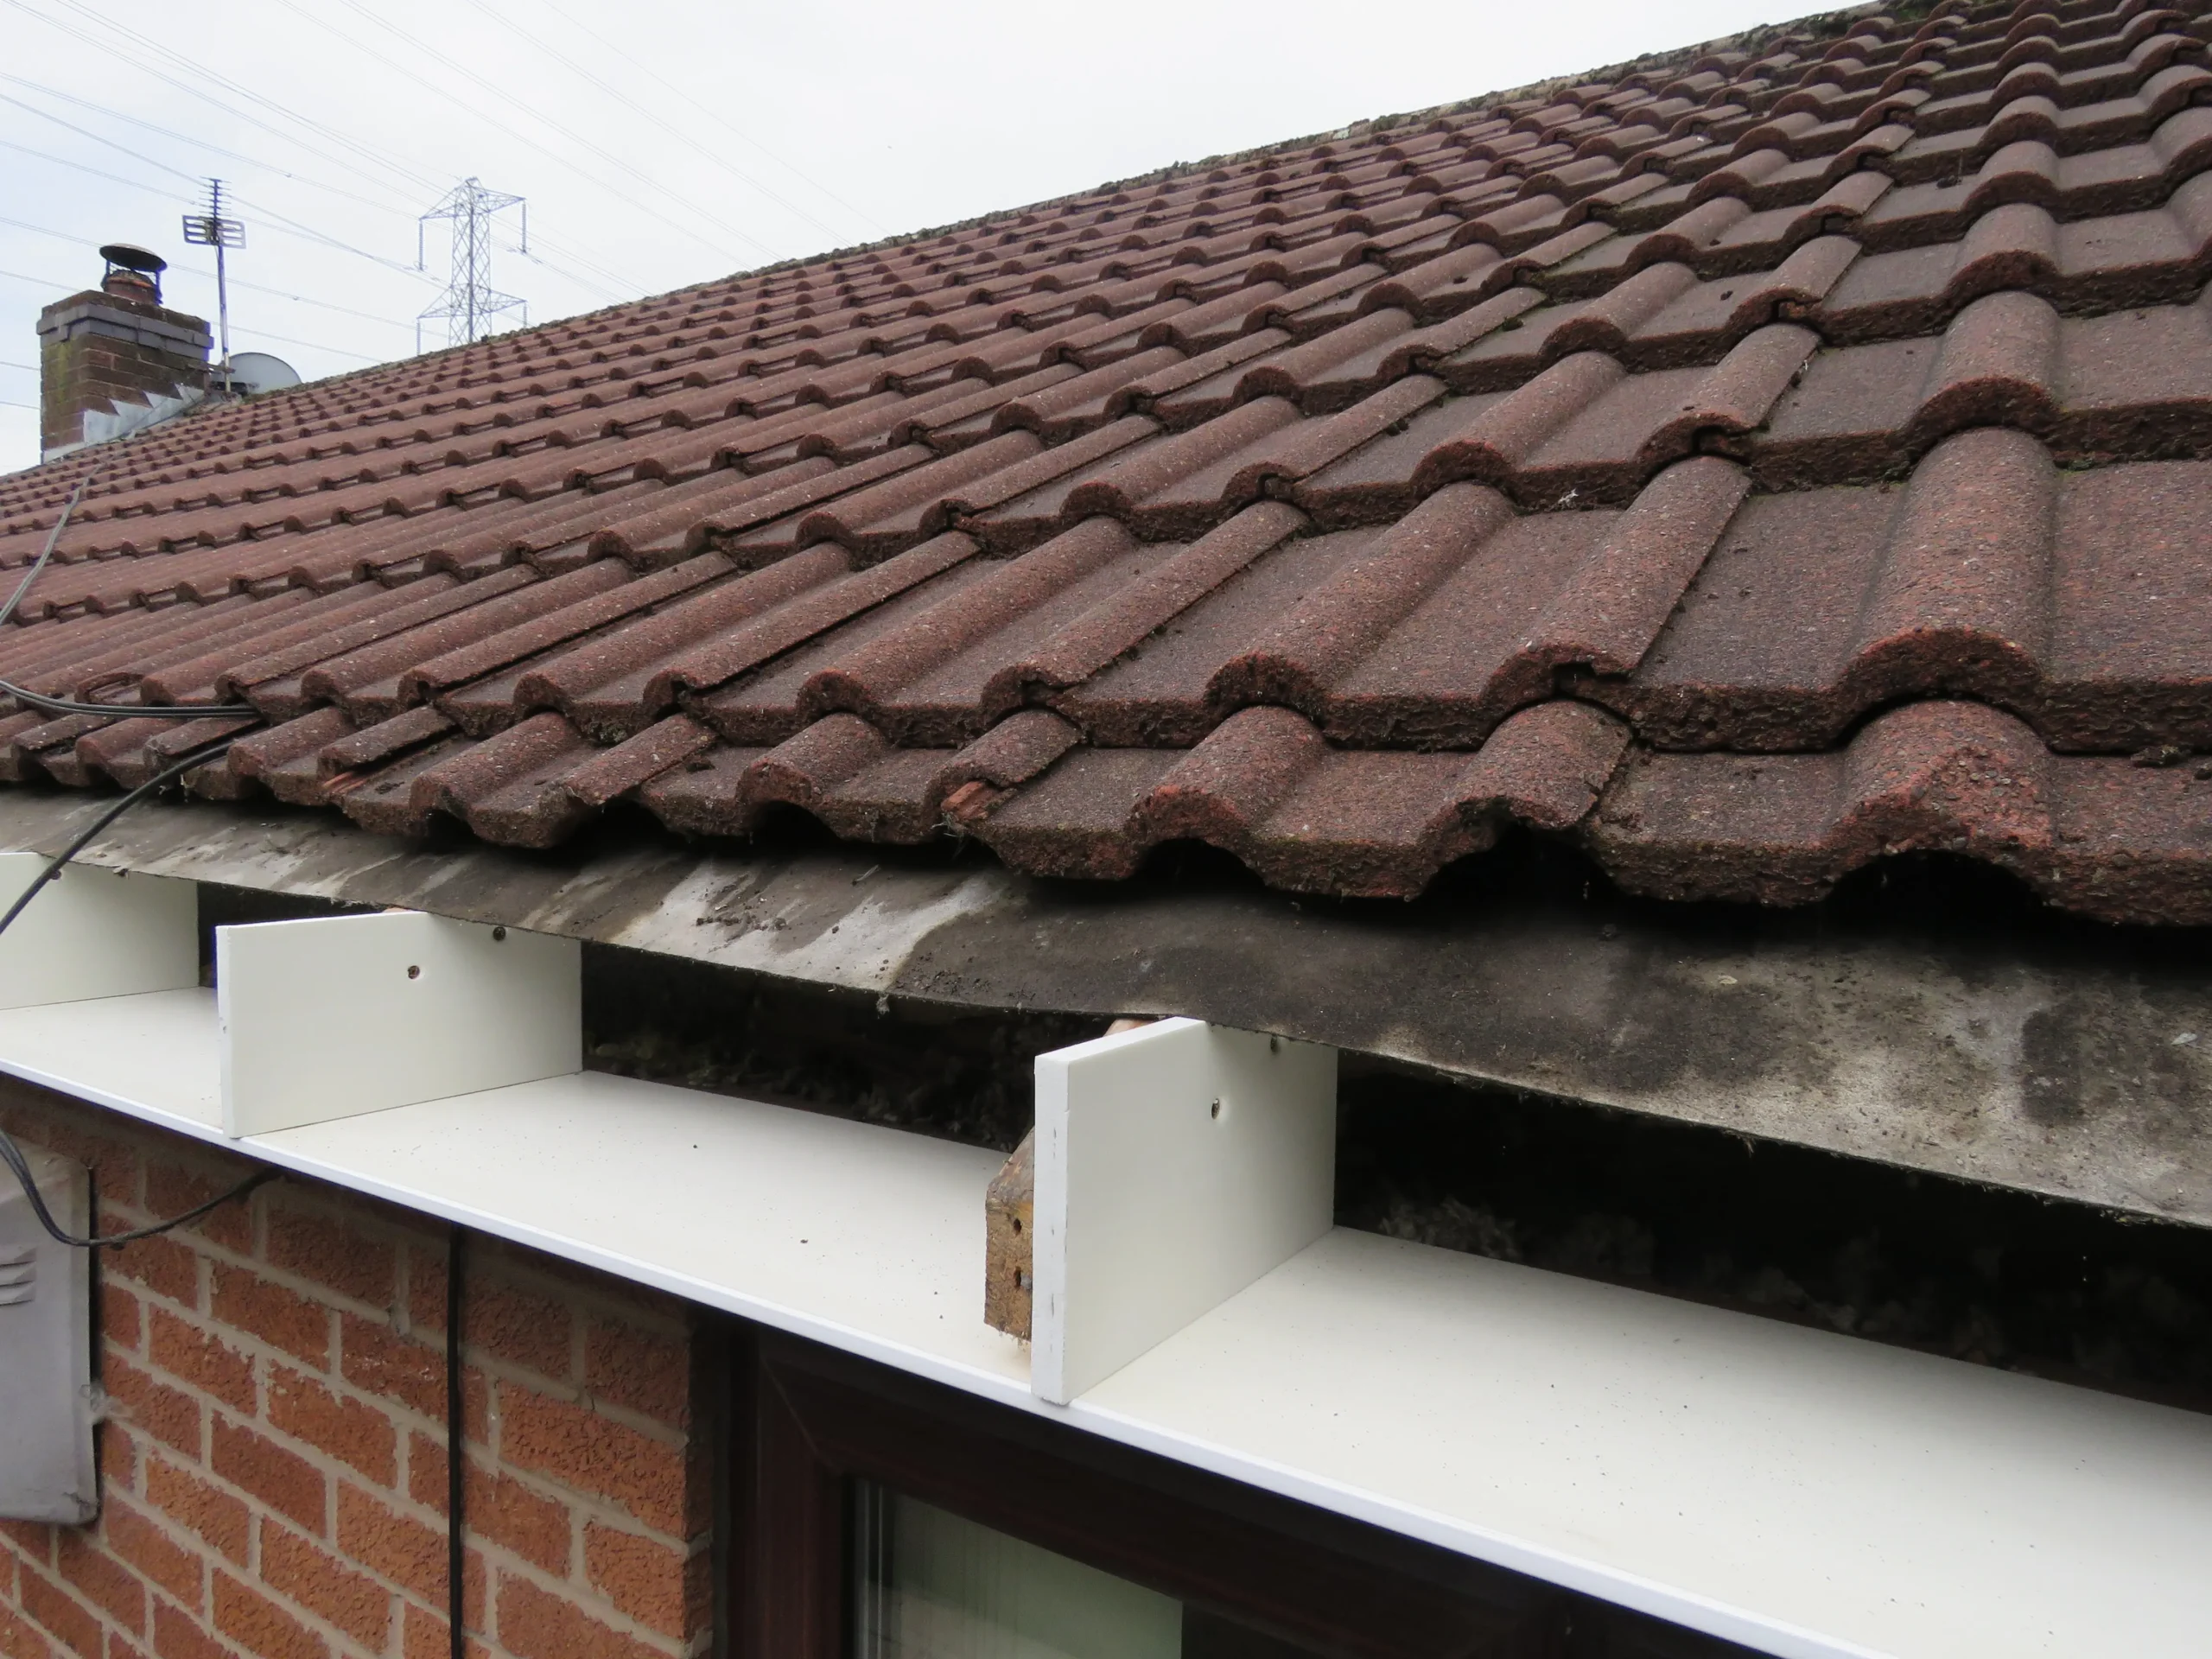
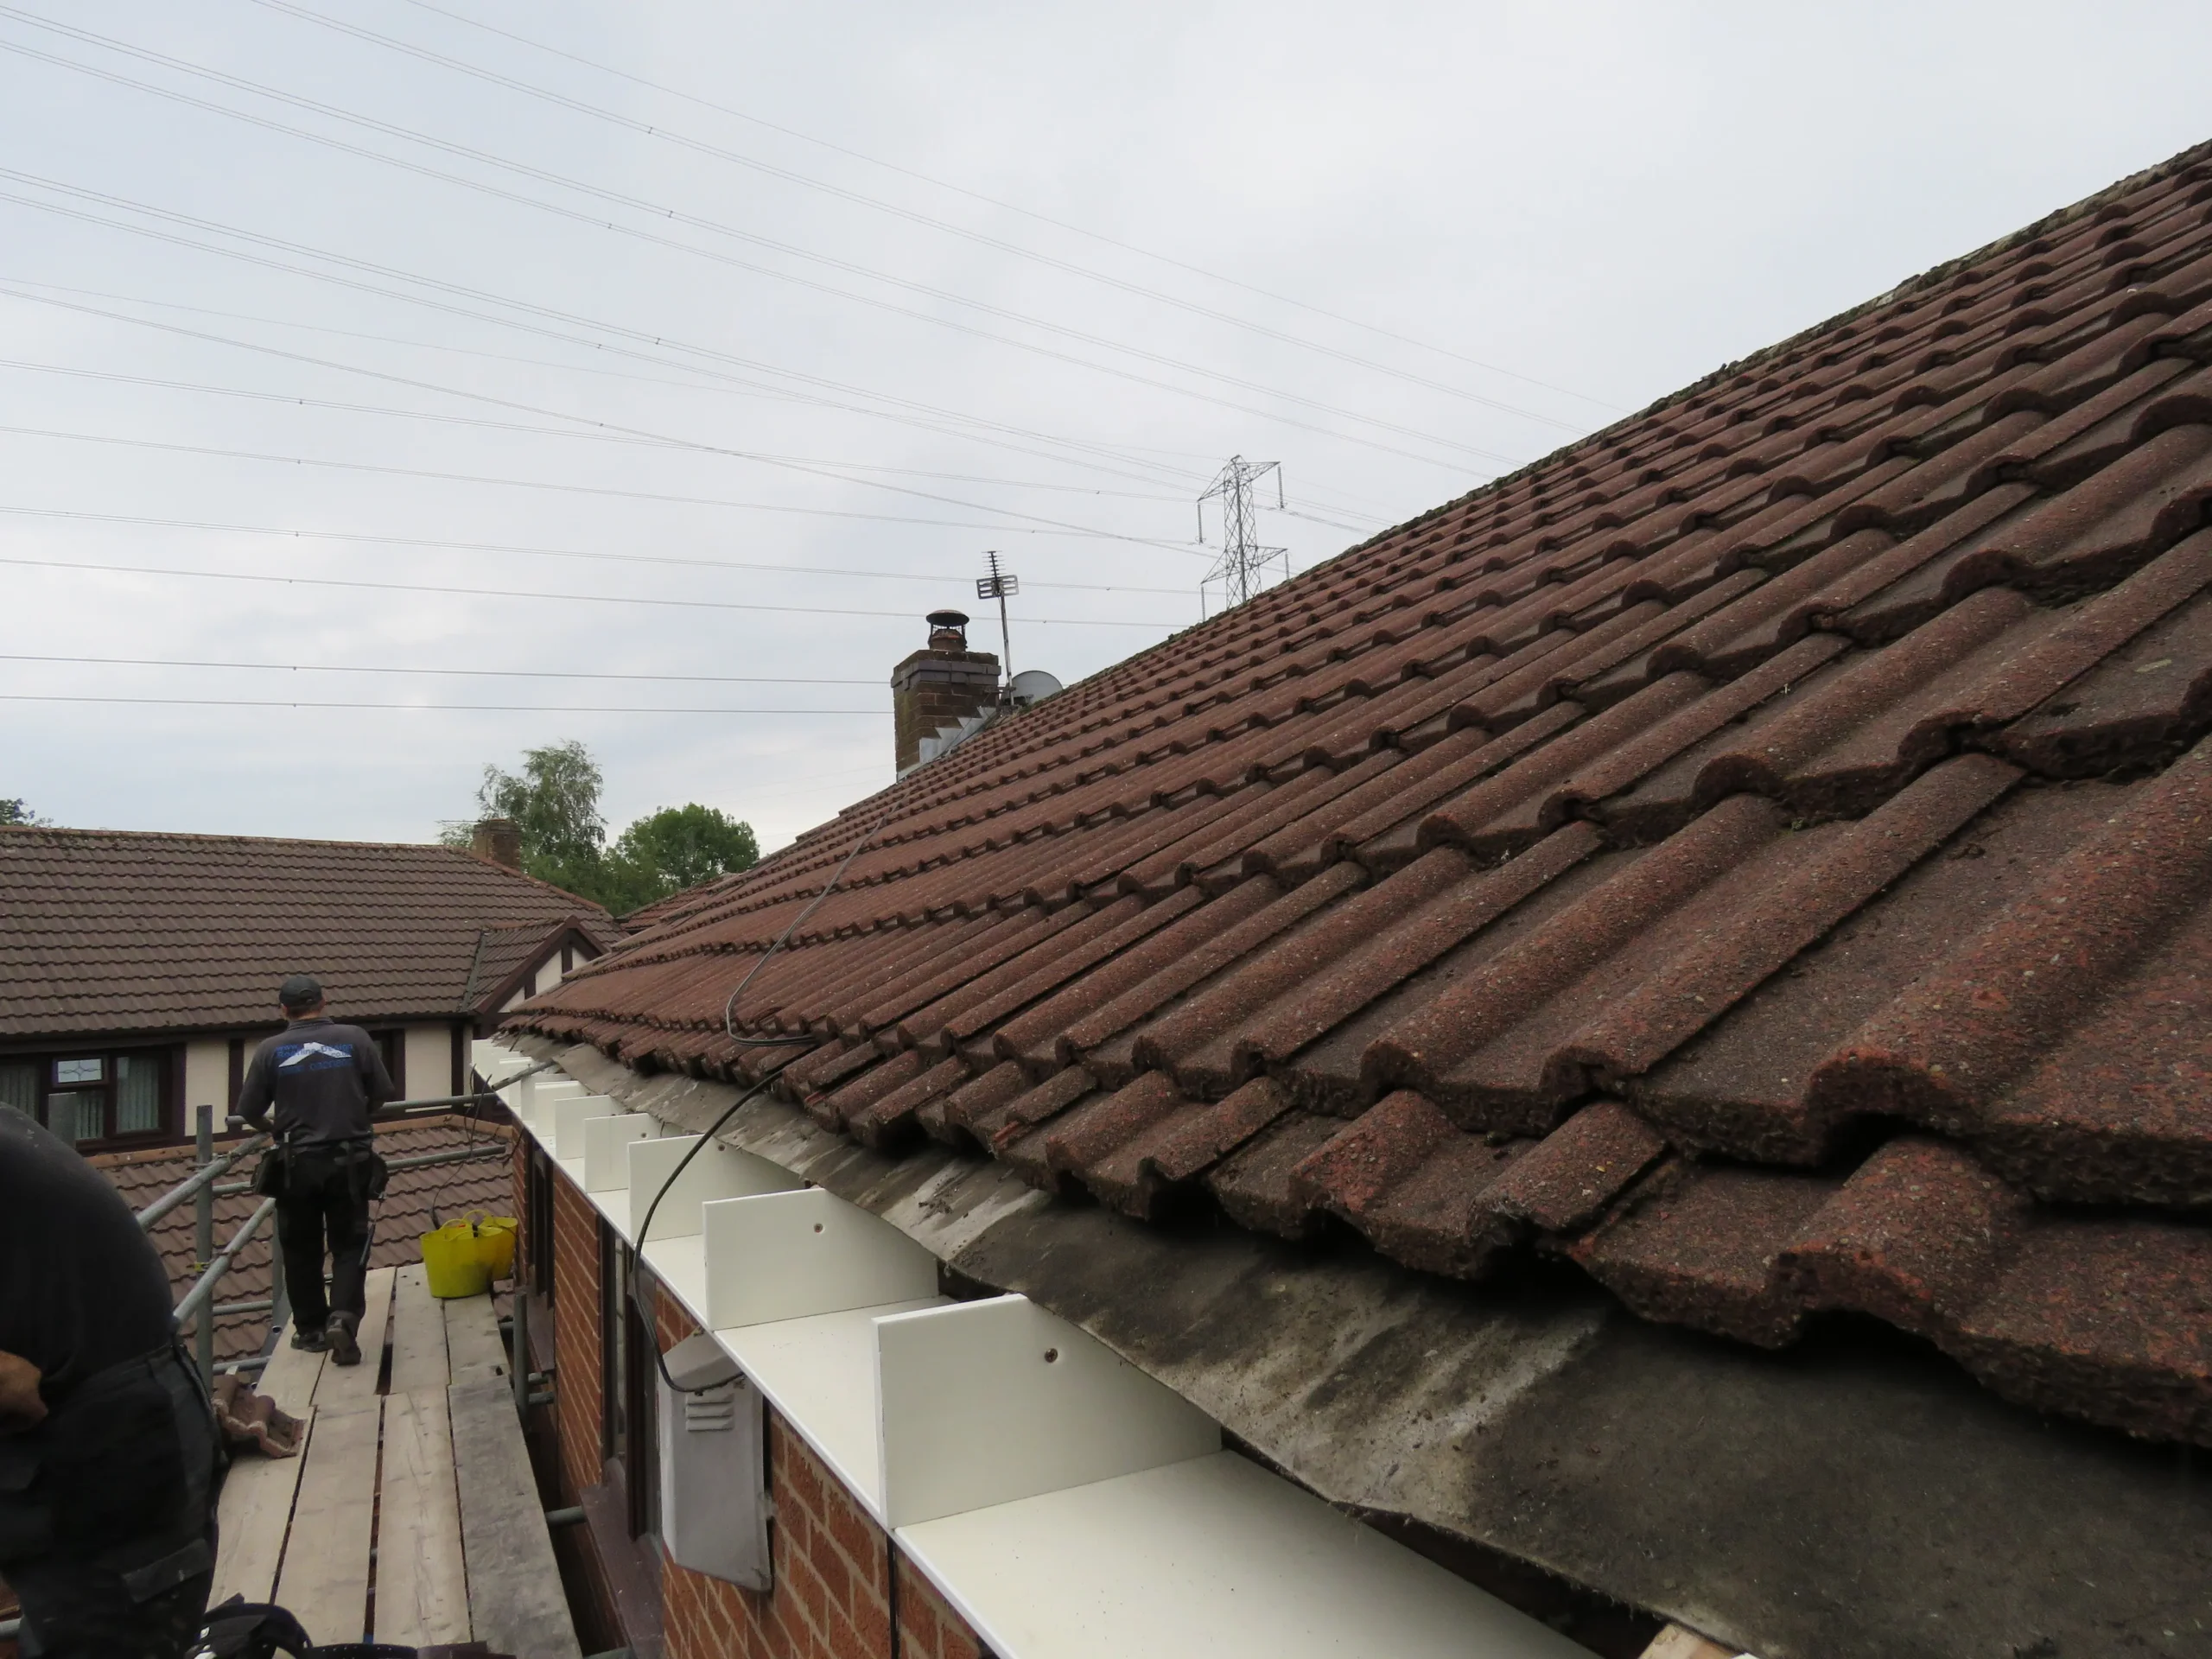
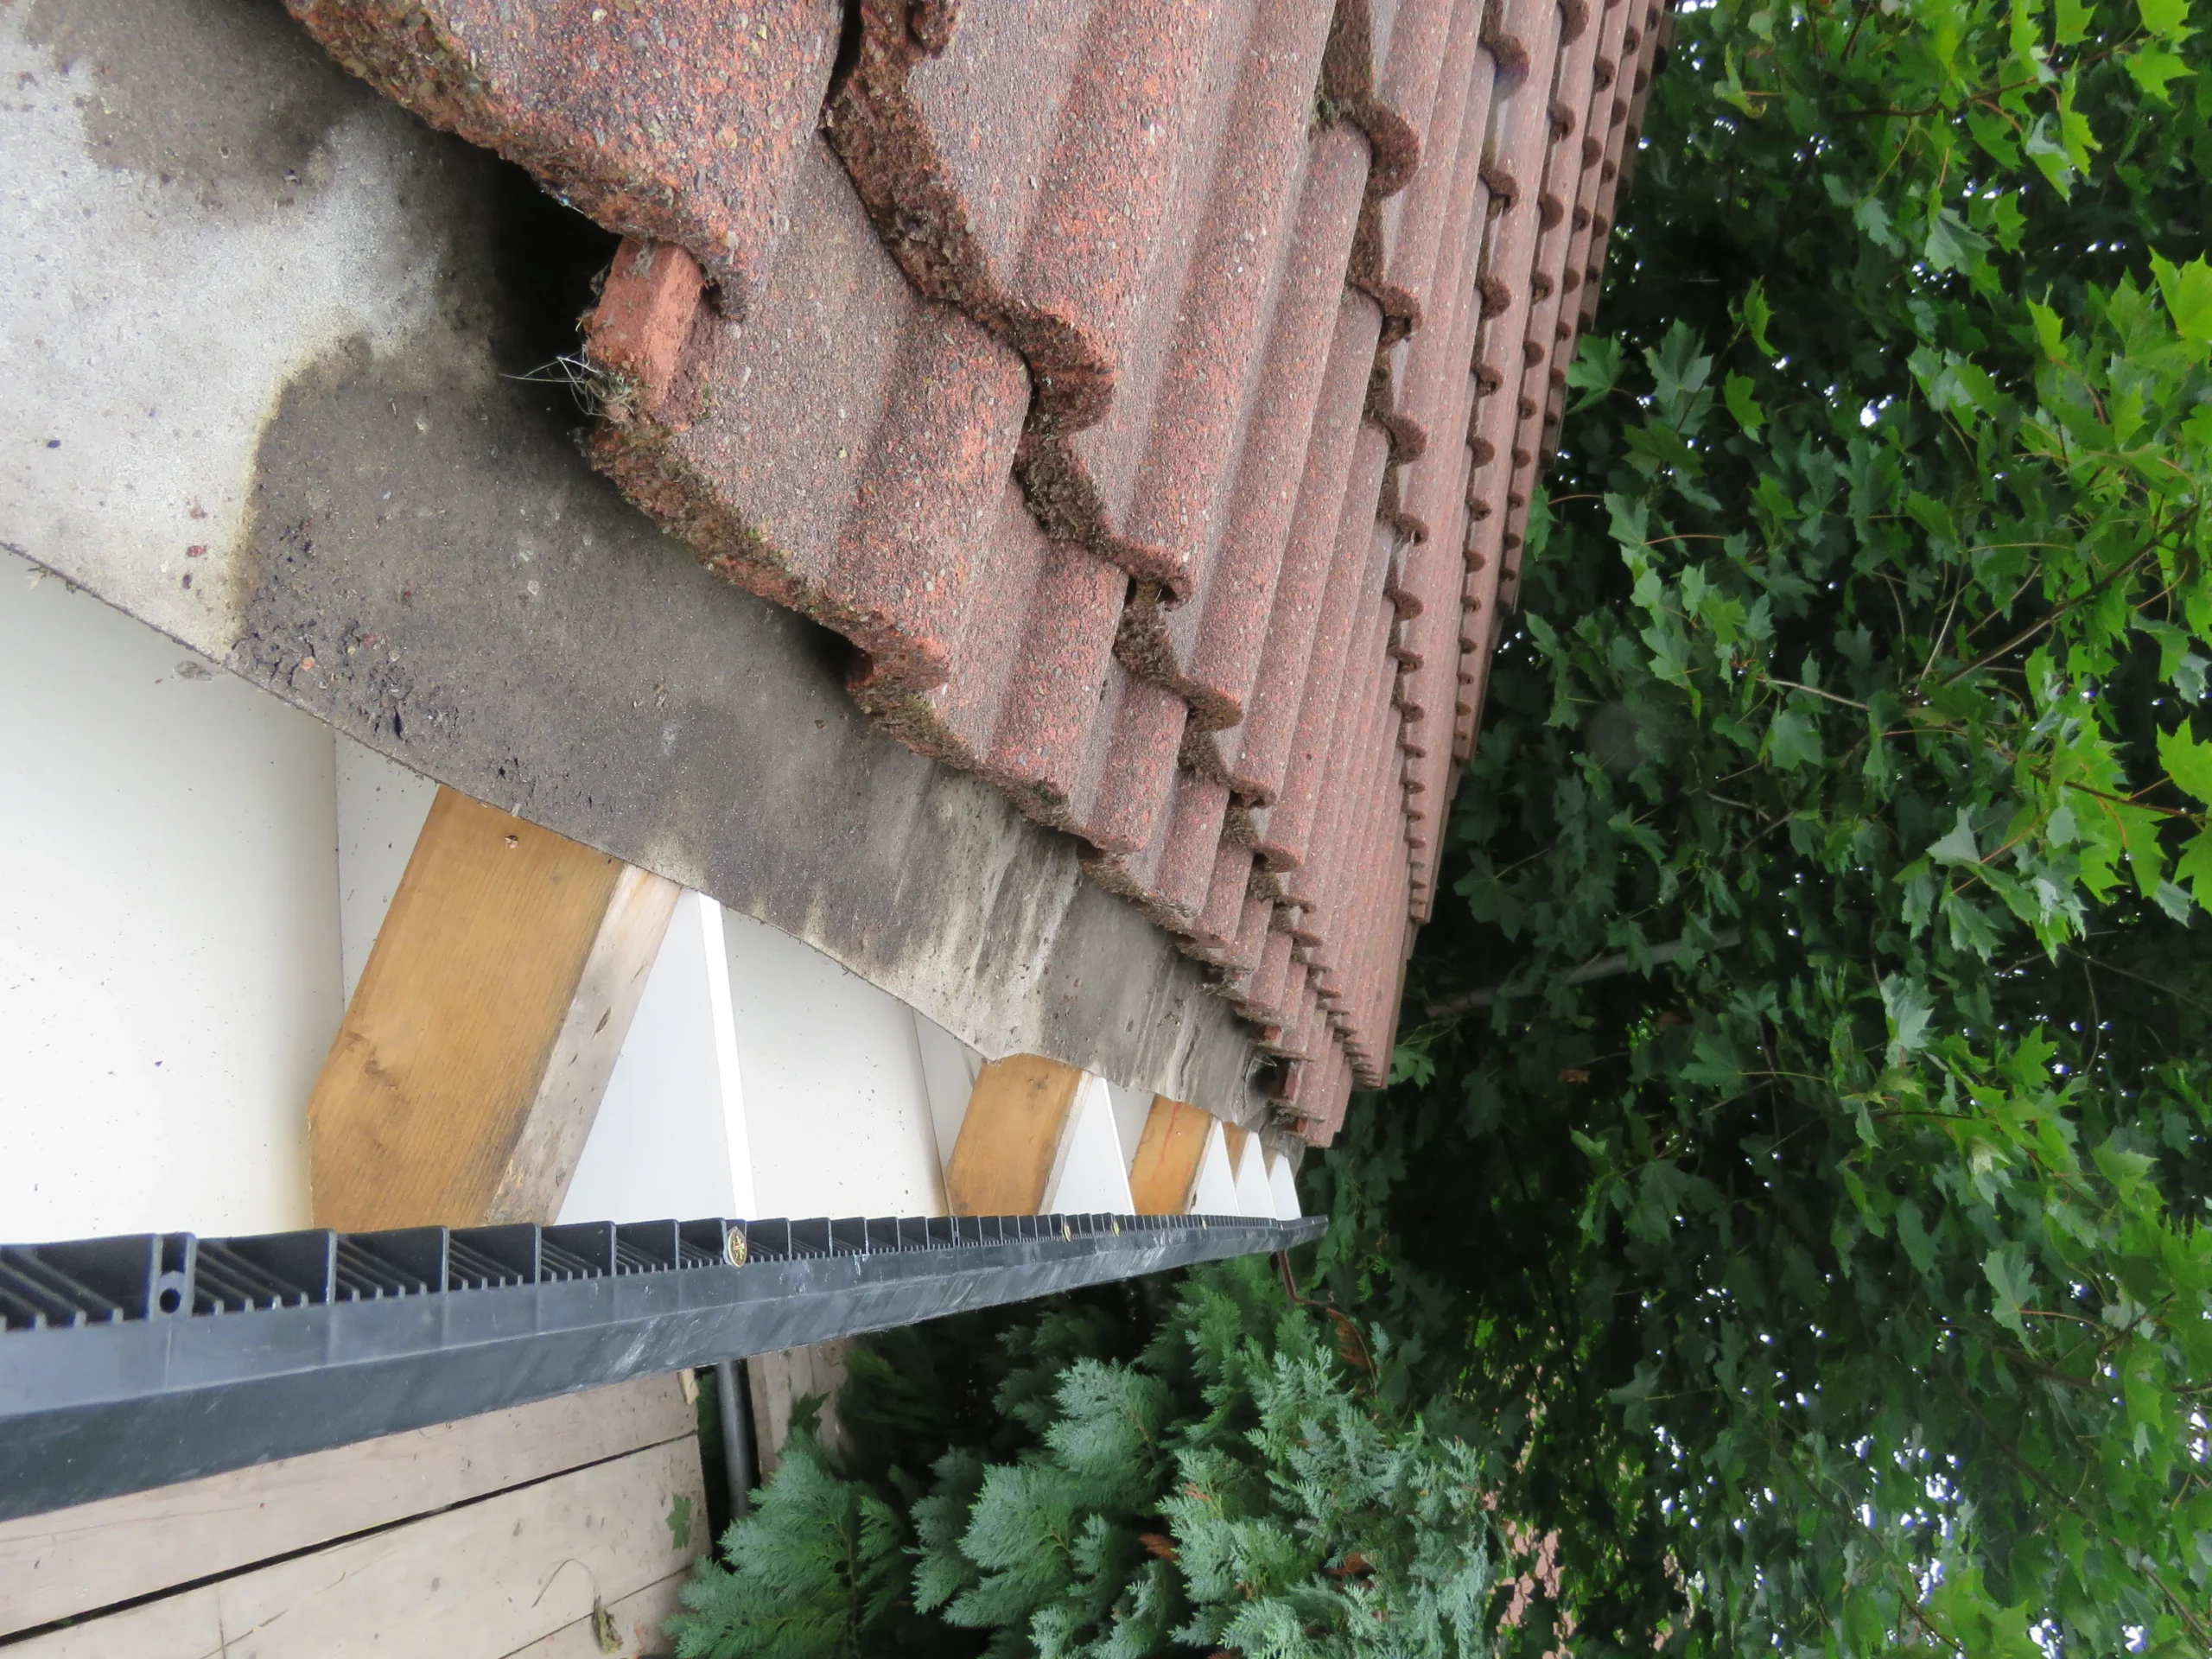
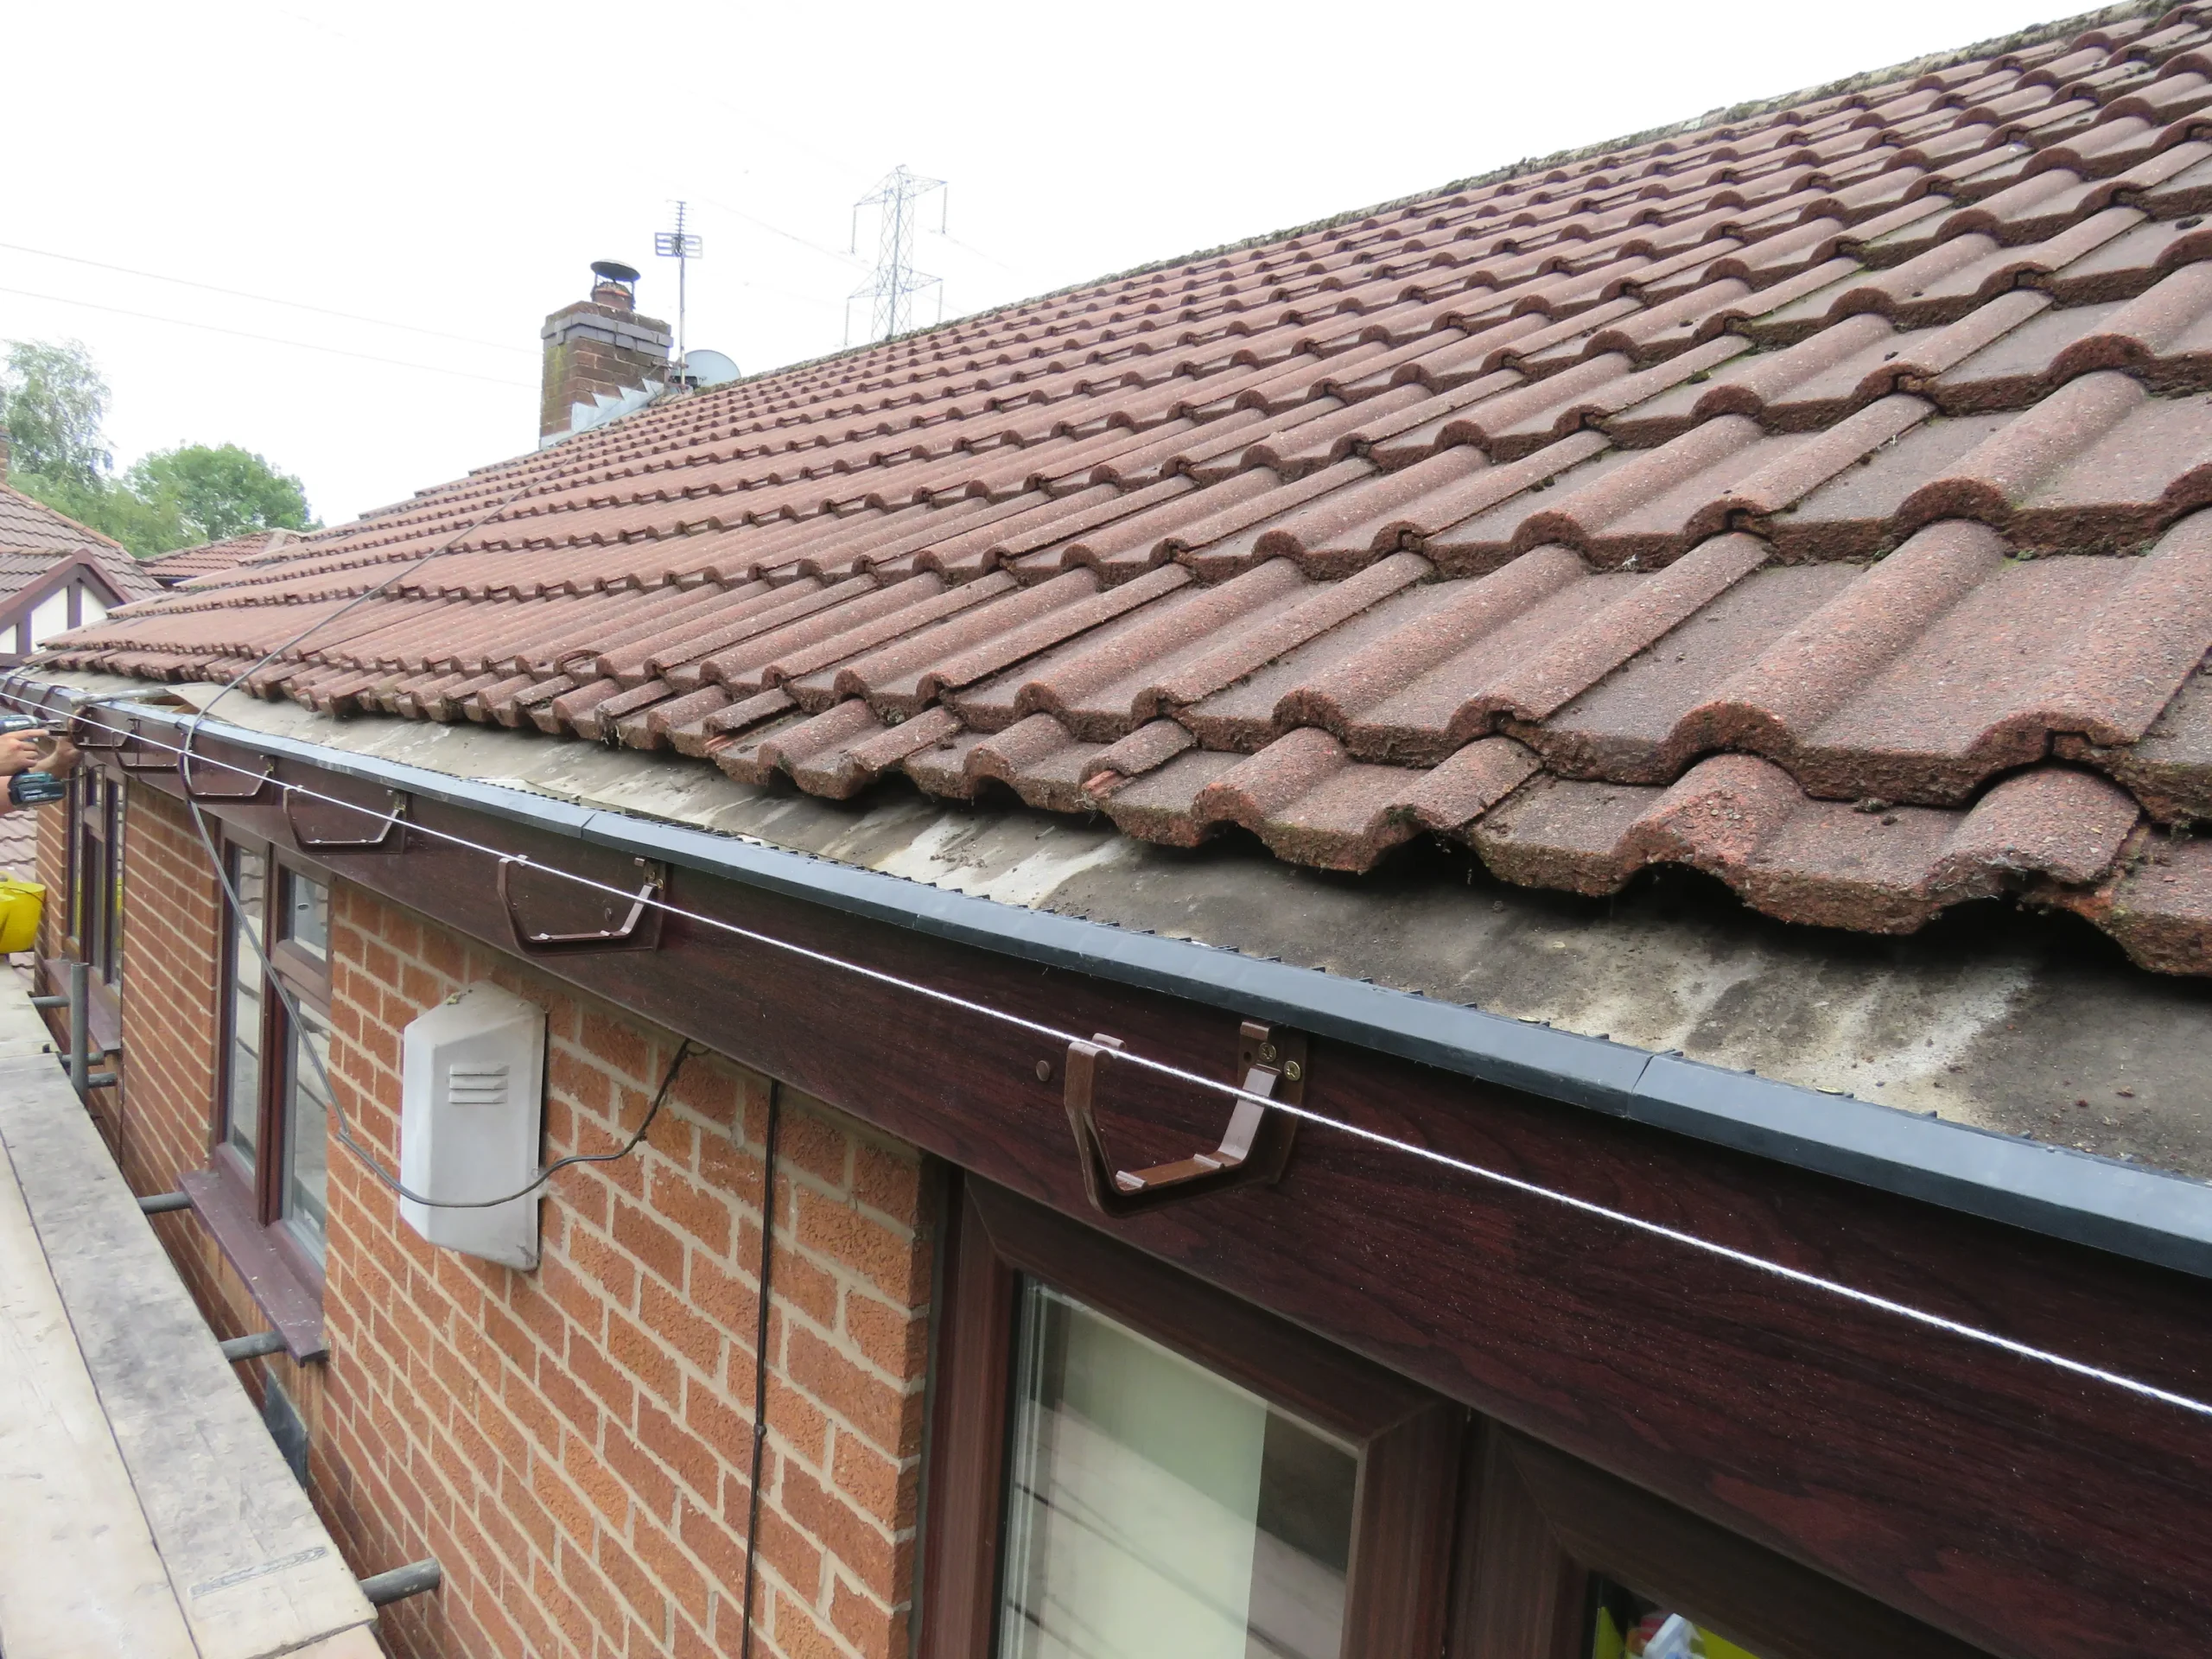
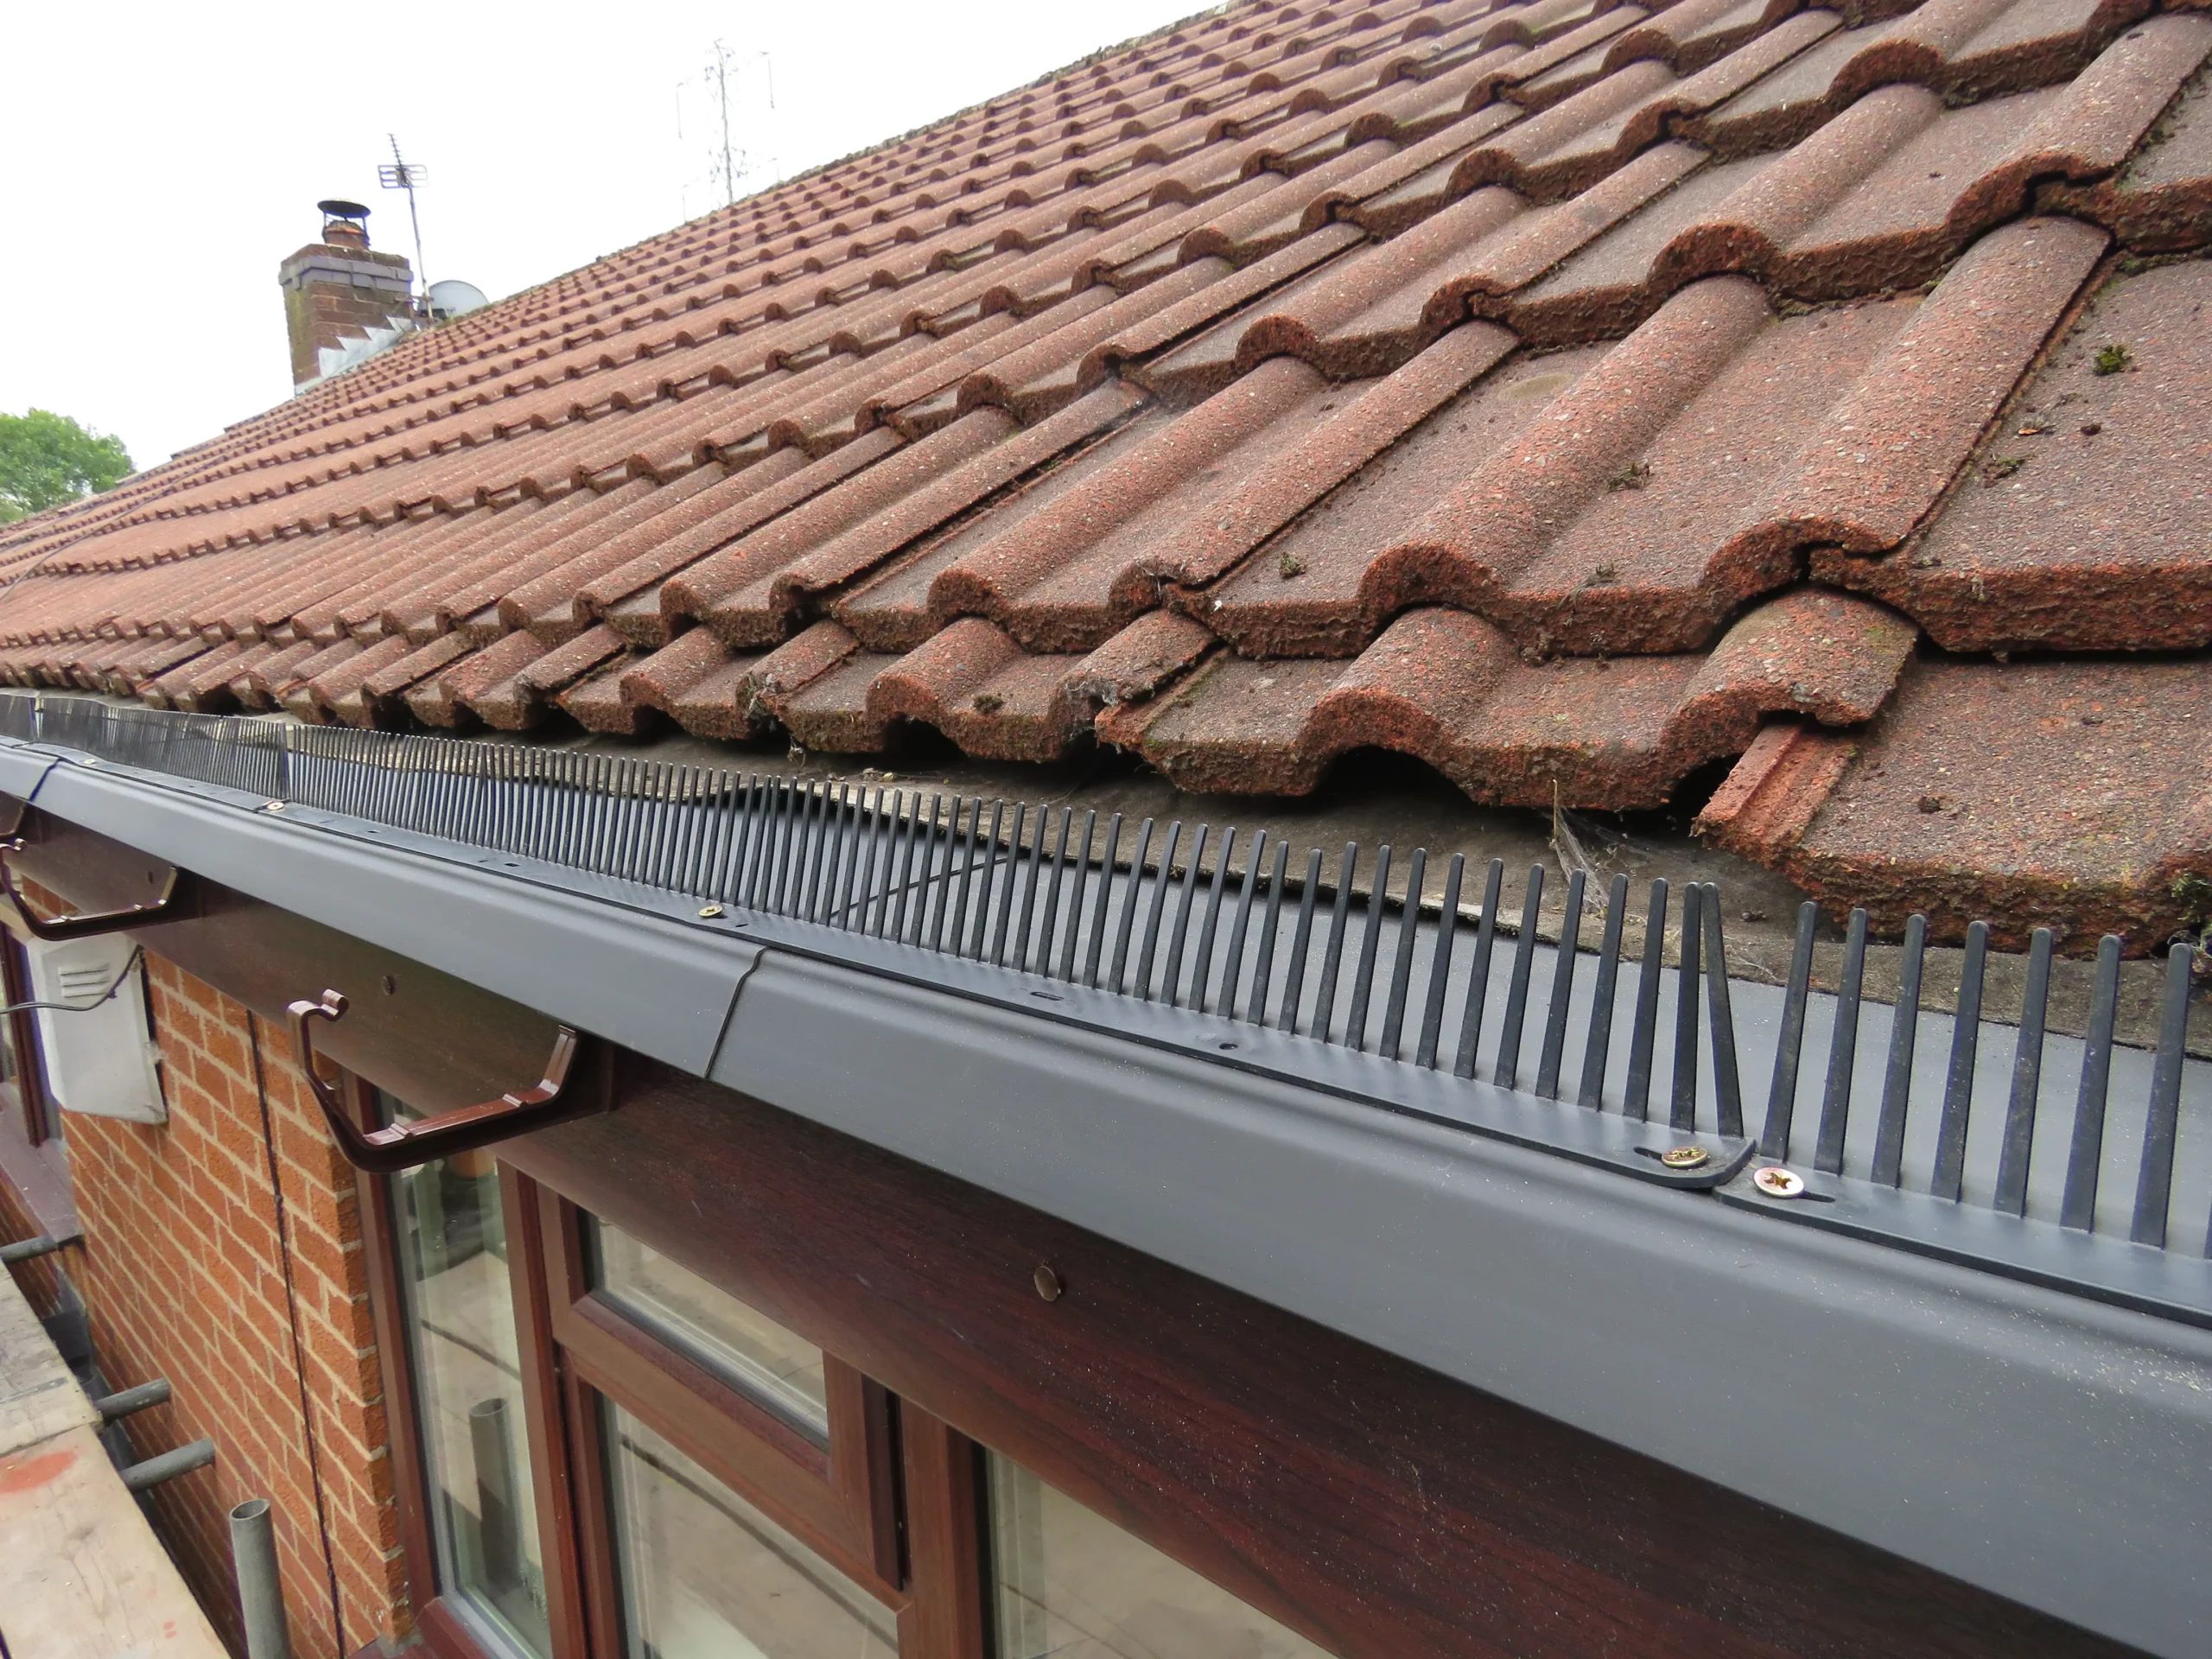
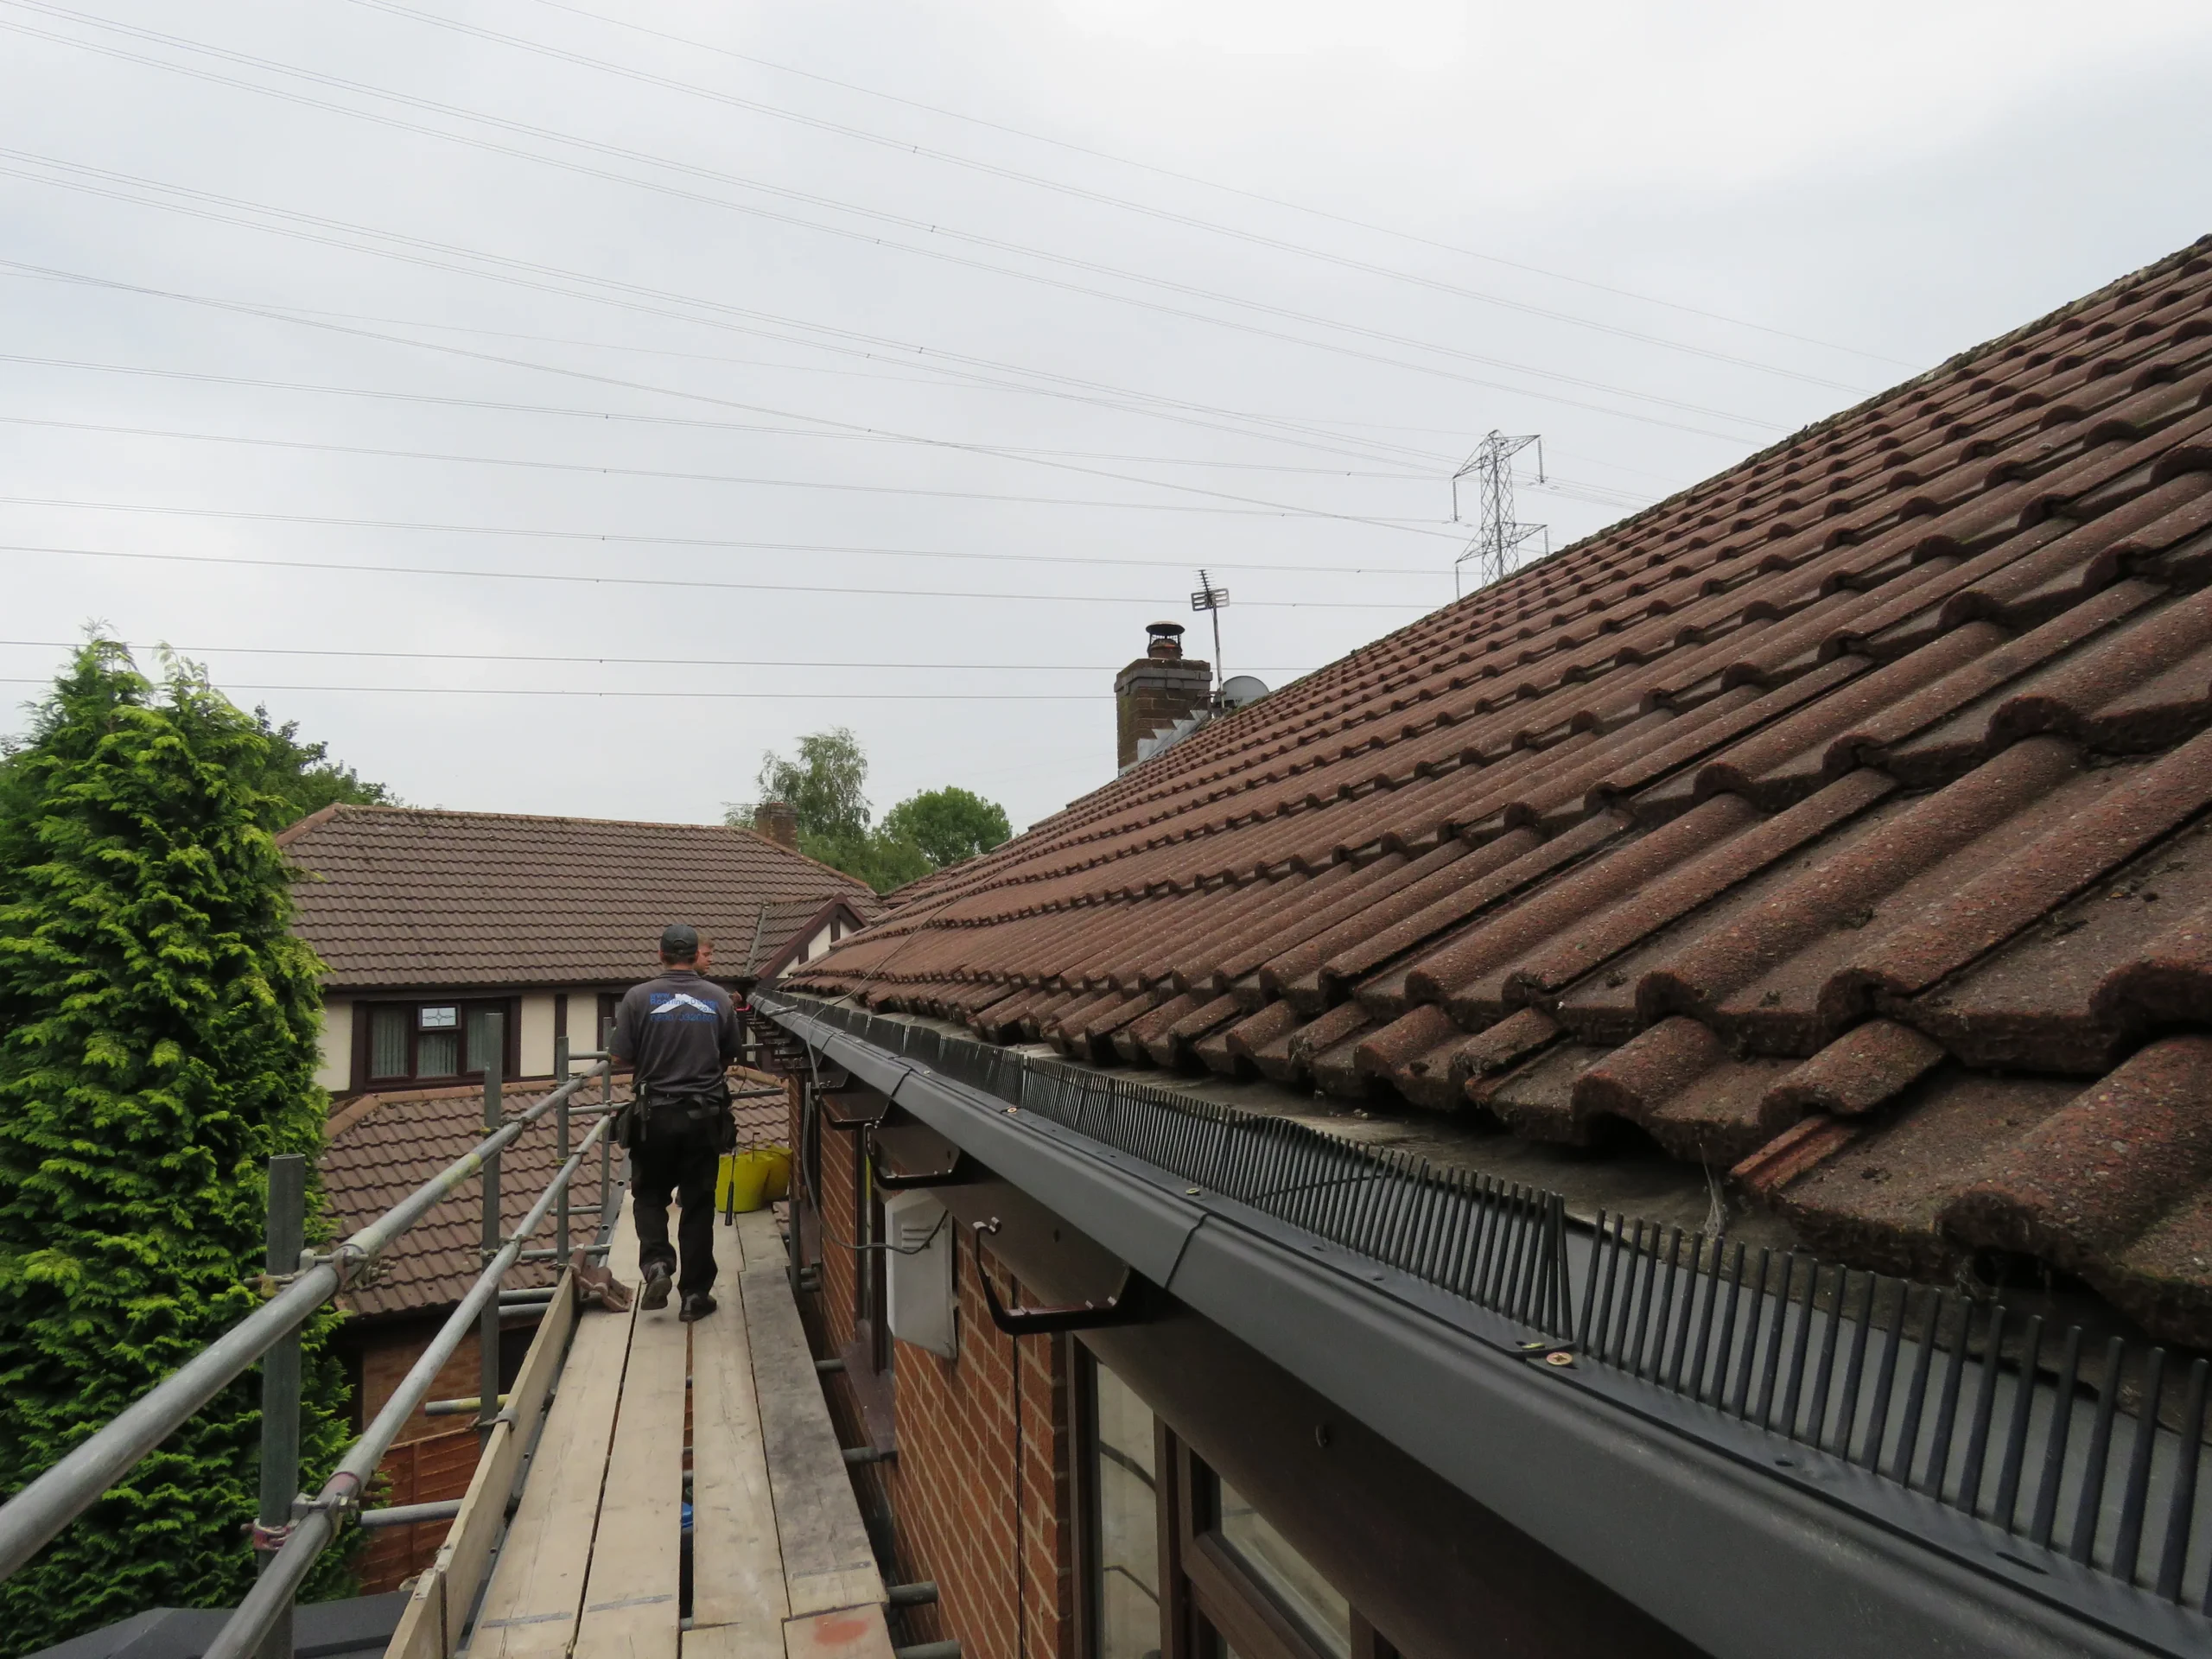
At Roofline Design, we completely remove damaged areas and replace them with new fascias, soffits, barge boards and guttering, rather than simply over-cladding.

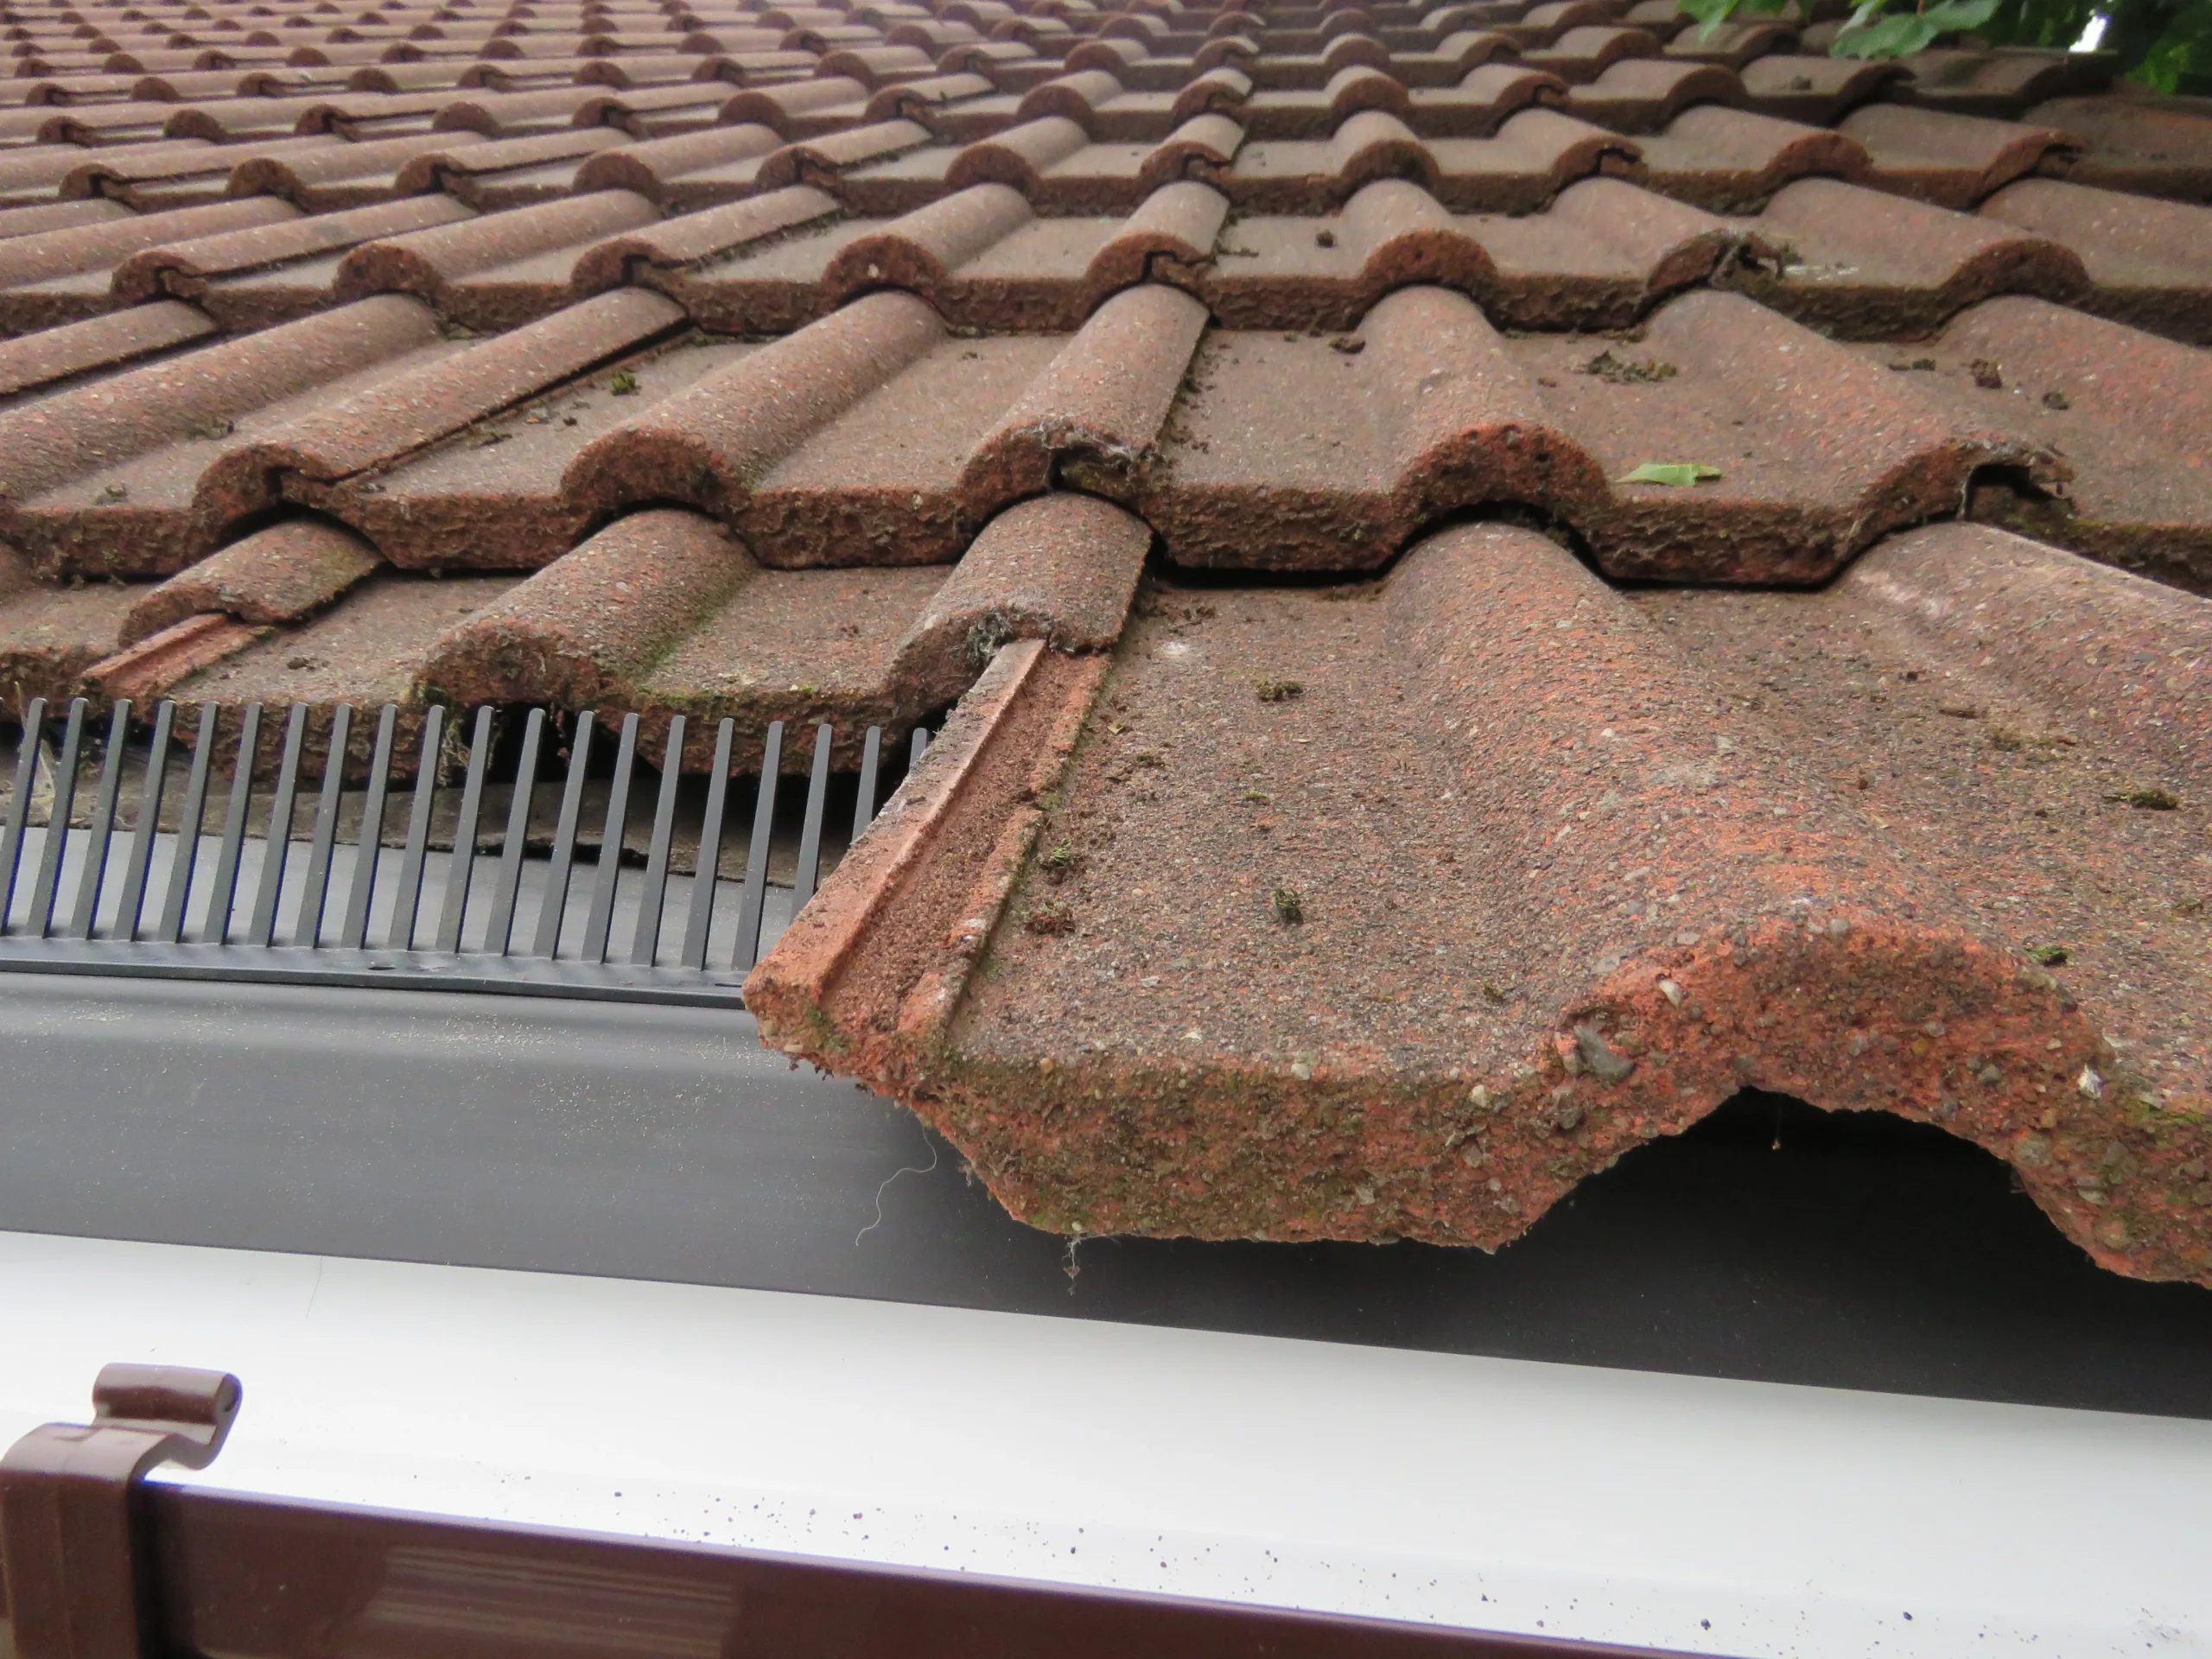
Overcladding is a quick fix for problems with fascias and soffits. It doesn’t take long to install, and it can be very cheap when comparing it to a full replacement but, as the name suggests, it is just cladding attached over the top of problem areas, covering anything unsightly.

As a result, overcladding doesn’t fix the problem and may even make things worse. It reduces ventilation to your roof, which can lead to damp, cracks and rotting, and can even cause areas of your roofline to completely collapse.

A complete replacement removes damaged areas and installs new, fully ventilated fascias and soffits, fixing the problem in the long term.

In pictures – see how we carry out a fascia board replacement in 15 steps

Here’s a quick overview of how a typical replacement will go. For more detailed information, simply scroll down.

Two workers on scaffolding cleaning a roof, with a green bucket and tools visible nearby.
1. Prepare traditional scaffold where required.
Worker repairing the edge of a roof with a tool, surrounded by roofing tiles and a scaffold.
2. Remove front row of tiles.
Roof with red tiles, exposed wooden beams, and a gap showing insulation beneath the eaves.
3. Completely remove all fascia, soffits and guttering, and trim back existing felt.
Builder working on roof with scaffolding above a sunroom in a residential garden.
4. Check spar ends and prep for UPVC supports.
Scaffolding along a wooden walkway beside a building with tiled roof and adjoining trees.
5. Check spar ends and prep for UPVC supports.
Two workers on scaffolding are repairing the edge of a red-tiled roof of a house surrounded by trees.
6.Check spar ends and prep for UPVC supports.
Brown tiled roof with white guttering and visible dirt along the edge, with electrical wires and chimney in background.
7. UPVC supports fitted along the length of the property.
Rooftop with reddish-brown tiles, worker on scaffolding, and cloudy sky with power lines in the background.
8. Final check to make sure soffits are aligned correctly.
Roof tiles and wooden supports above white panels, with green foliage in the background.
9. Attach 18mm solid UPVC fascia with a concealed over-fascia vent to the top of the fascia board.
Roof with red tiles, guttering, and a white electricity box on a brick wall, scaffolding partially visible.
10. Attach gutter brackets to the fascia boards with a small pitch to allow rainwater to drain away.
Worker installing new gutter on a house roof while standing on scaffolding.
11. Install the plastic felt tray over the vents, allowing rainwater to run into the gutters.
Roof with terracotta tiles and black gutter guard, viewed from an angle.
12. Install bird guard to top of felt trays.
Worker walking on scaffolding beside a brown tiled roof with overcast sky and power lines in the background.
13. Prepare for gutter installation.
Damaged terracotta roof tiles with moss, partially covering a black gutter.
14. Reseat tiles back into correct position.
Worker kneeling on a scaffold, applying finishing touches to the gutter of a brick house.
15. Finally, clean new fascia, soffits and gutters with solvent cleaner, and mastic the soffits to the brickwork to leave you with a neatly finished roofline.
House with brick exterior featuring solar panels on the roof under a blue sky.
Before installation

Give us a ring or drop us an email and we’ll arrange for a free, no-obligation 15-minute quotation. One of our friendly surveyors (not a salesperson!) will visit at a time that suits you to take a look at your roofline.

If you’re happy with everything, we’ll email or post your order confirmation, and agree your installation date.

No deposit

There’s no advanced deposit required – you only pay when the work is done, and you are entirely happy with it. We’re confident that the work we do will be carried out to the highest standards, which is why we don’t ask for payment until you’re completely satisfied.

How it works

First contact us and we will arrange a quick 15-minute FREE quotation at a time to suit you (no high-pressure salespeople). If you are happy with everything, we email you (or post) your order confirmation with an installation date, with no deposit required.

On the day of the installation we do the following:

  • Completely remove all your old rotten timber roofline, facias, soffits, guttering and barge boards.
  • Slide the first row of tiles back and remove all the old corroded felt and debris that will have built up over the years and preventing any ventilation.
  • Dress and remove all the rotten spar ends with secure fixings, then build up or cut them back to make sure they are all level using string lines.
  • Attach 9mm solid PVCu soffit boards to the underside of the spars.
  • Attach 18mm solid PVCu fascia boards to the front of the spars.
  • Attach 18mm solid PVCu barge boards.
  • A new concealed ventilation system is installed to the top of the facias (bringing your roof up to the new building regulations and allowing your roof to breathe).
  • Introduce a new plastic felt tray which directs the rainfall from the tiles into the gutter.
  • Install bird guard if required and requested.
  • Replace your roof tiles back into the correct position. Replace all box ends with single piece box ends.
  • Install new PVCu barge boards and soffit boards to replace all corroded timbers.
  • Inspect, replace and patch up all cement that has been dislodged.
  • Supply and install dry verge end caps (if requested at additional cost).
  • Install new guttering at the correct angle to allow the water to disperse more efficiently.
  • Install new fall pipes.
  • Inspect the roofline installation with yourself and the fitting team upon completion.
  • Tidy up and remove all the rubbish from site.
  • Supply you with a receipt and 20-year guarantee.
  • Simply pay the invoice on completion.

Contact Us

Get in touch for a free, no-obligation quote today. To request to speak to a surveyor, book an appointment, or simply ask a question, please don’t hesitate to contact us


You can send us a message at any time using the form opposite, or give us a call from 8am to 8pm, 7 days a week.

Get In Touch